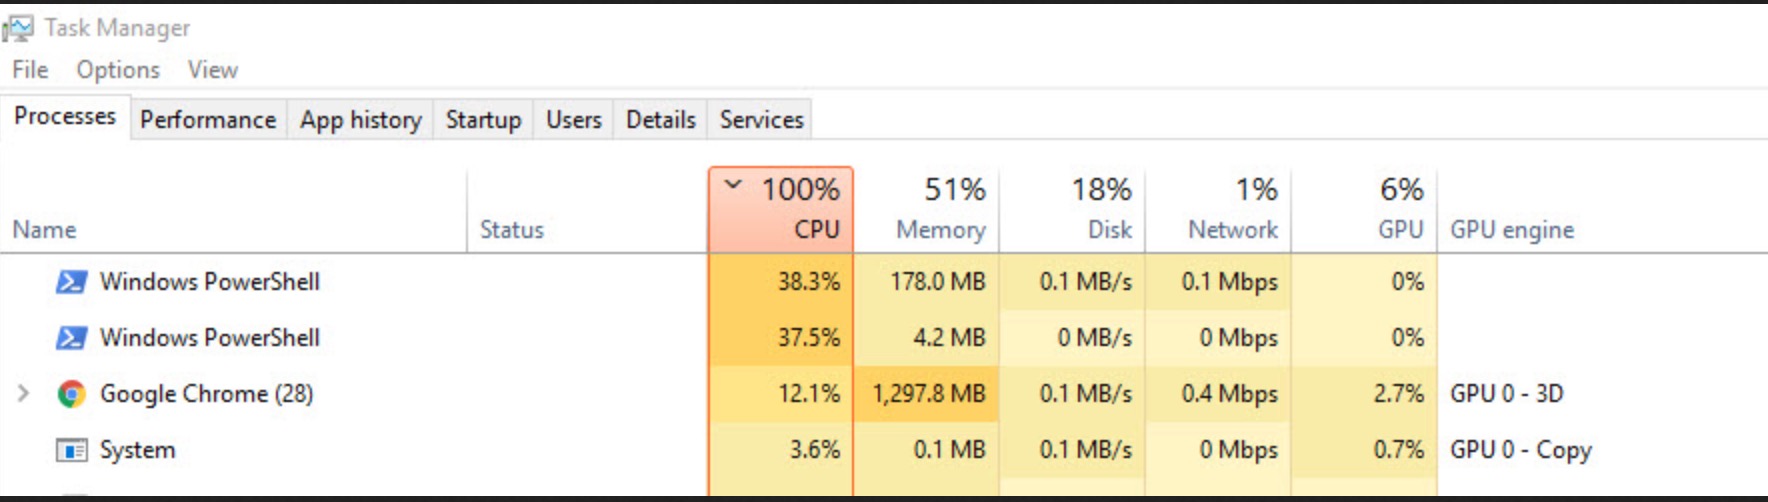
PowerShell is suddenly using too much CPU. It makes your PC slow, noisy, and frustrating to use. Apps may freeze, the fan may run constantly, and even simple tasks can feel laggy. This issue usually occurs due to corrupted system files, malware, outdated versions of Windows, or background apps interfering with PowerShell. Below are the best ways to fix high CPU usage in PowerShell on Windows 11.
Page Contents
Fix Windows PowerShell High CPU Usage In Windows 11
Fix 1: Update Windows And PowerShell
An outdated system can cause high CPU usage. Install the latest Windows updates and update PowerShell to the newest version. Below are the steps to fix it:
1. Press Windows + I to open Settings.
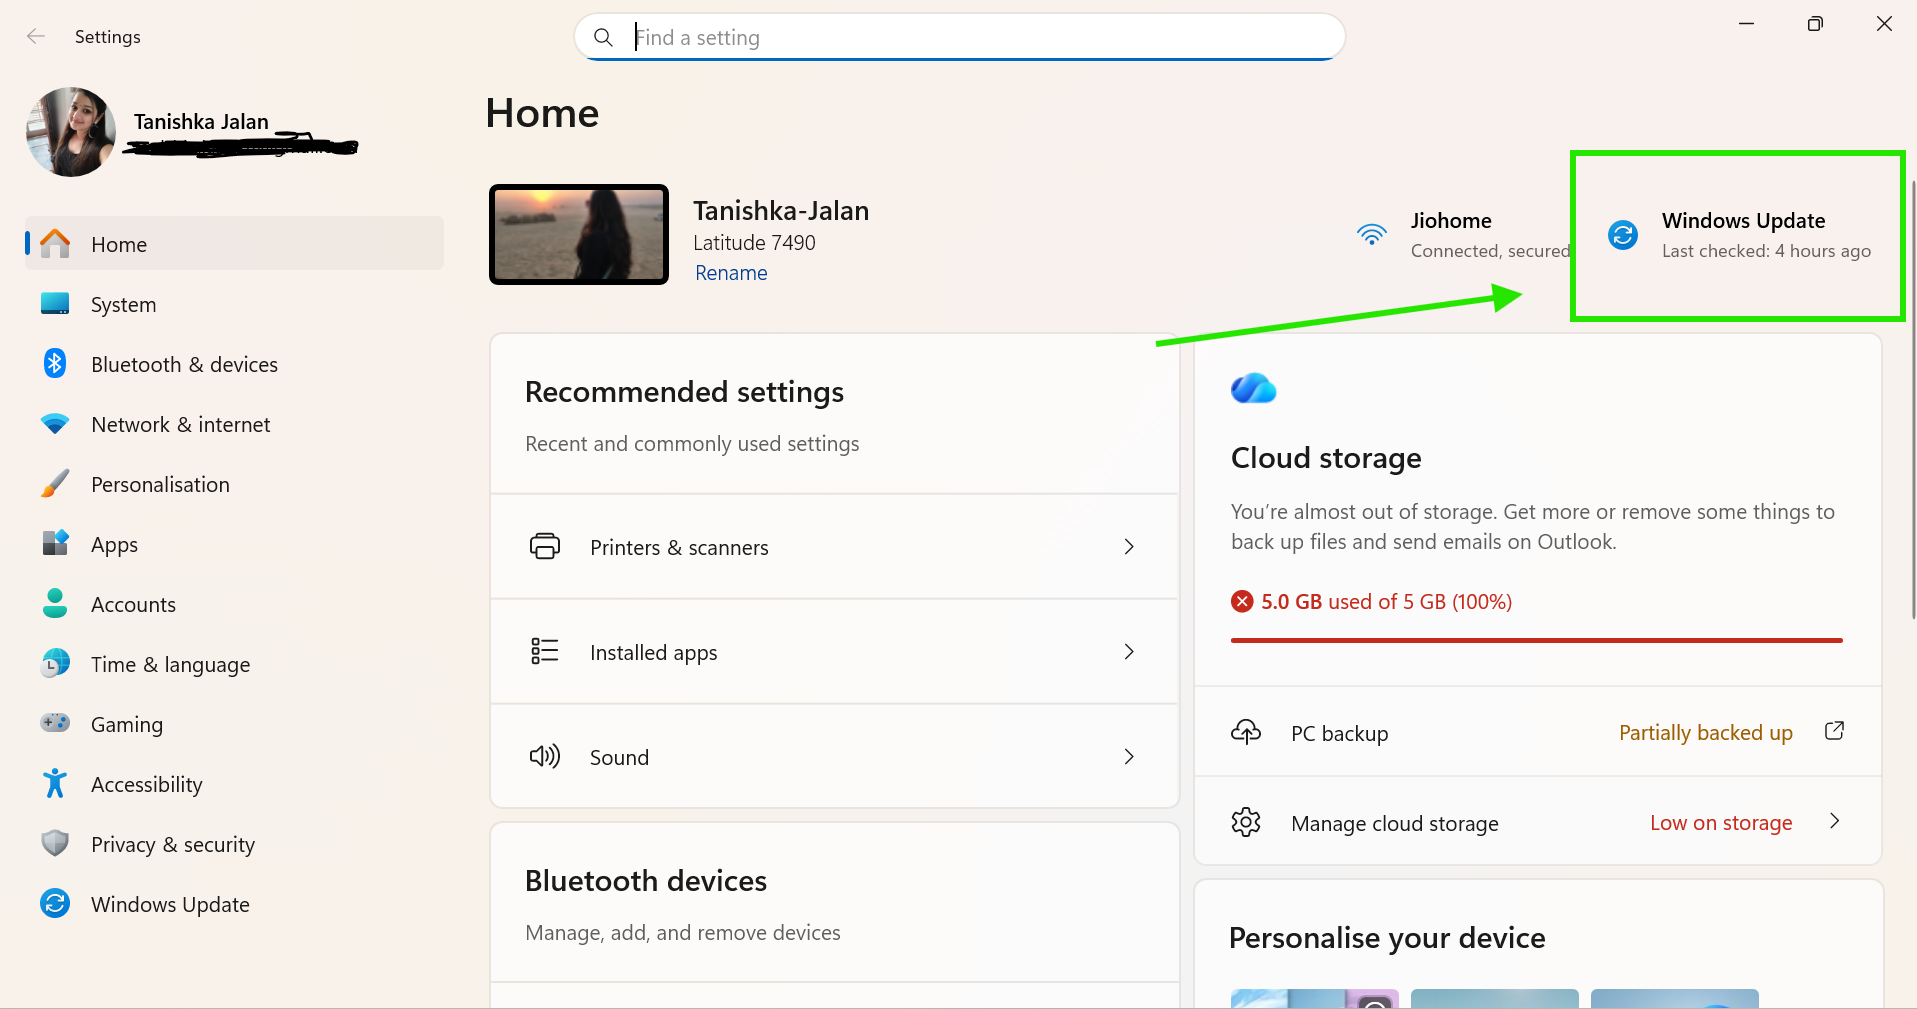
2. Go to Windows Update.
3. Click Check for updates.
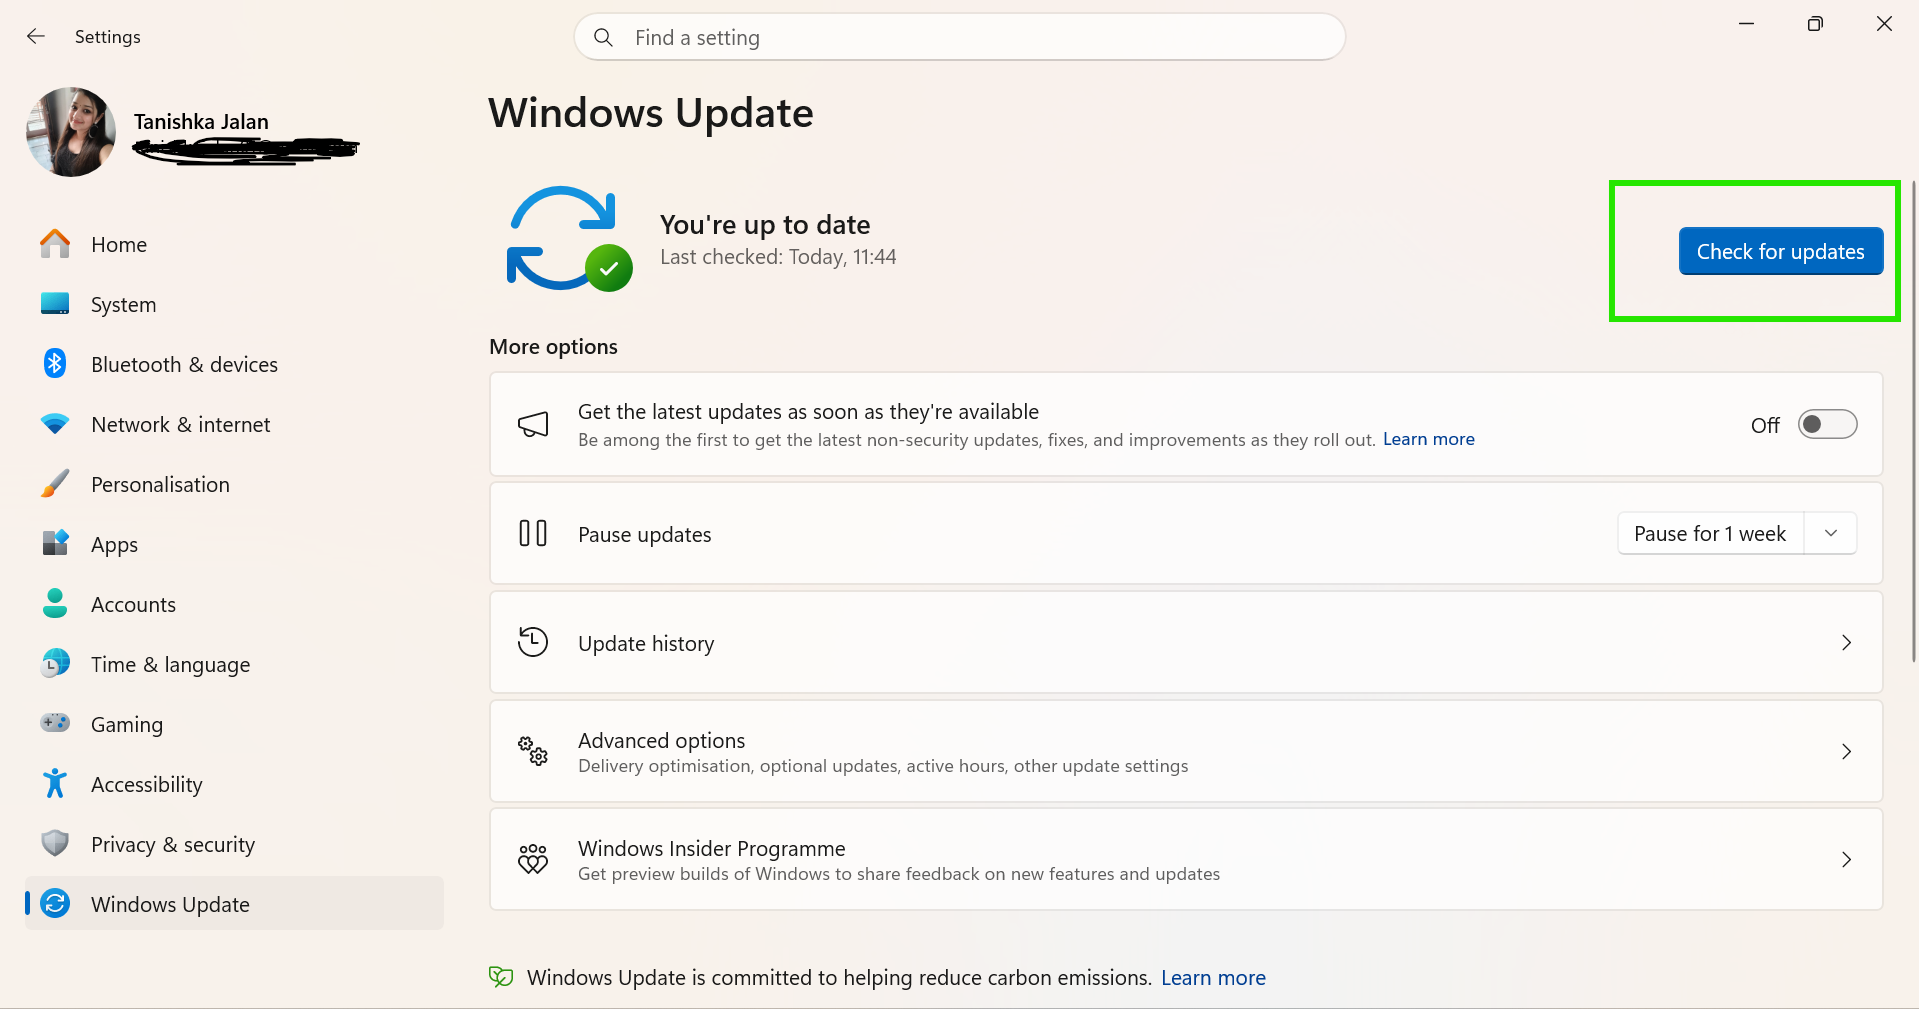
4. Download and install all available updates.
5. Restart your PC.
Fix 2: Scan For Malware And Viruses
Malware often hides behind PowerShell processes and consumes system resources. Here are the steps you should follow:
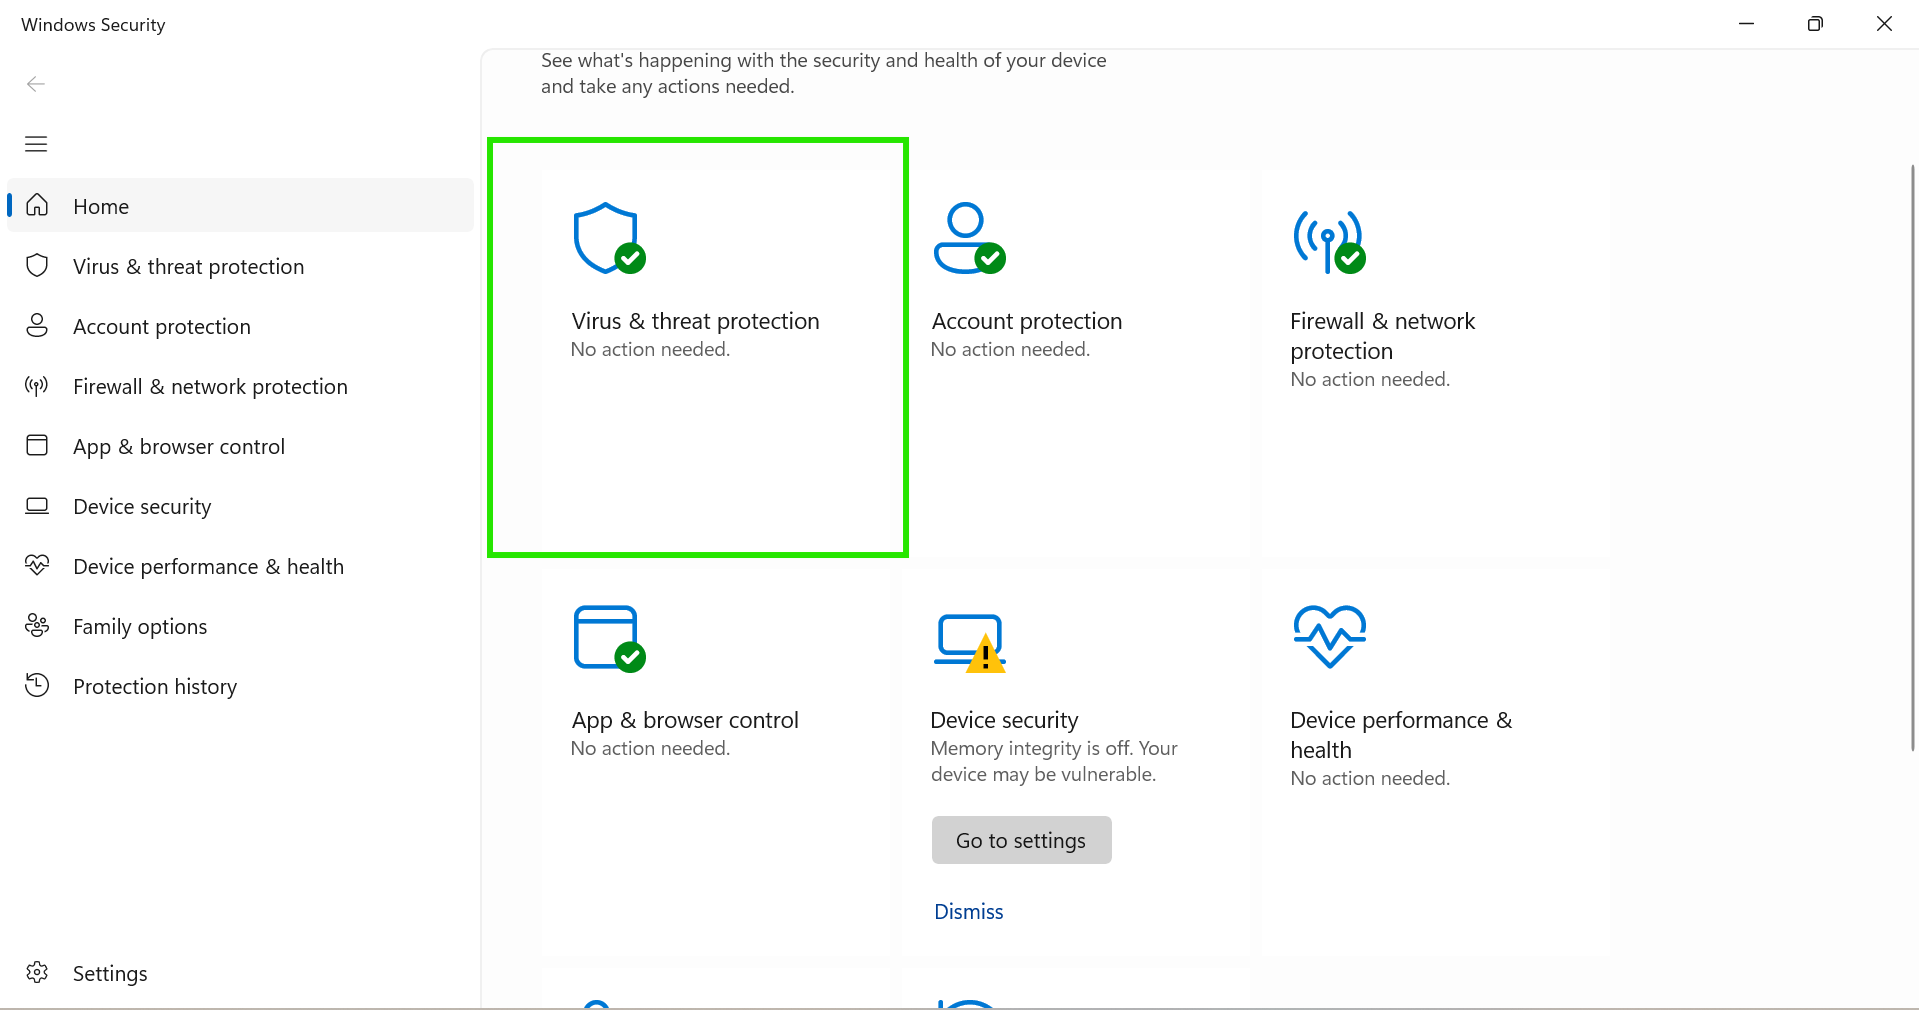
1. Open Windows Security.
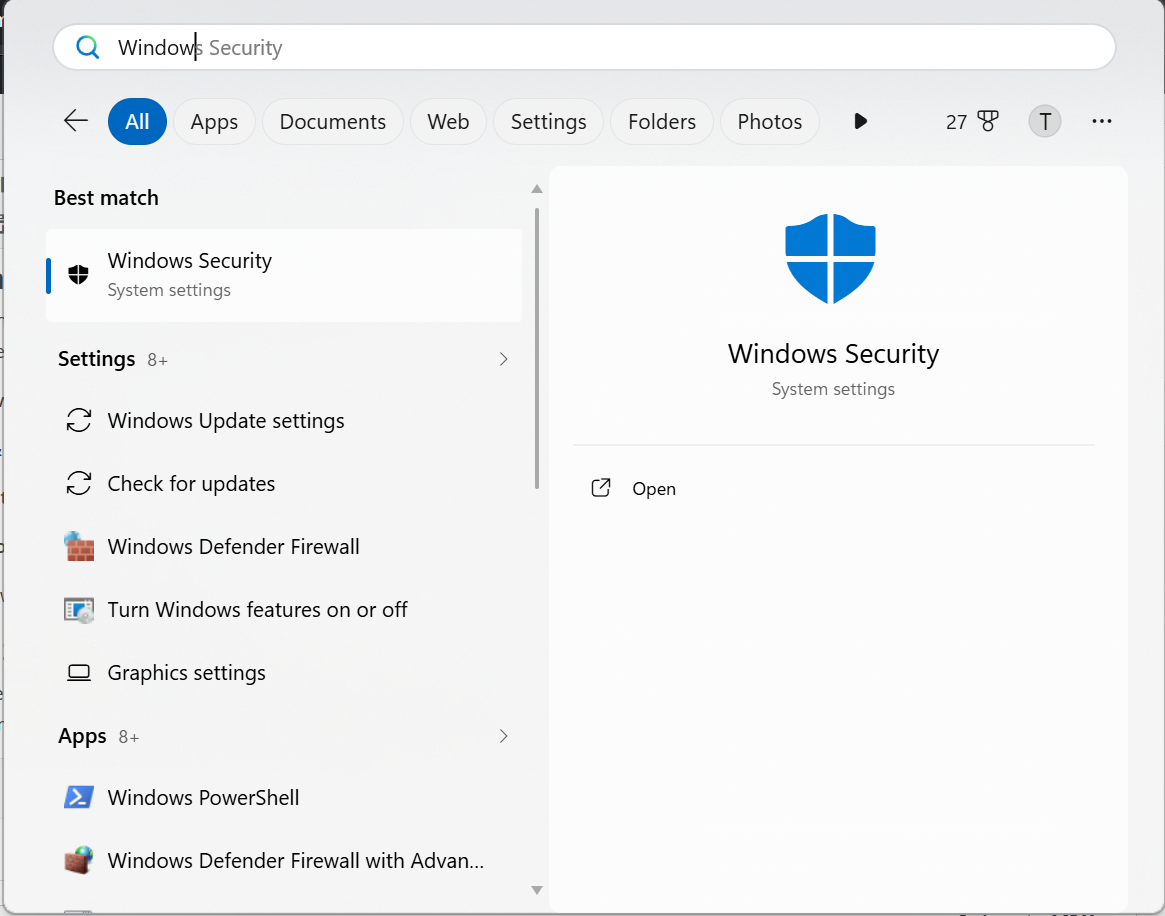
2. Go to Virus & threat protection.
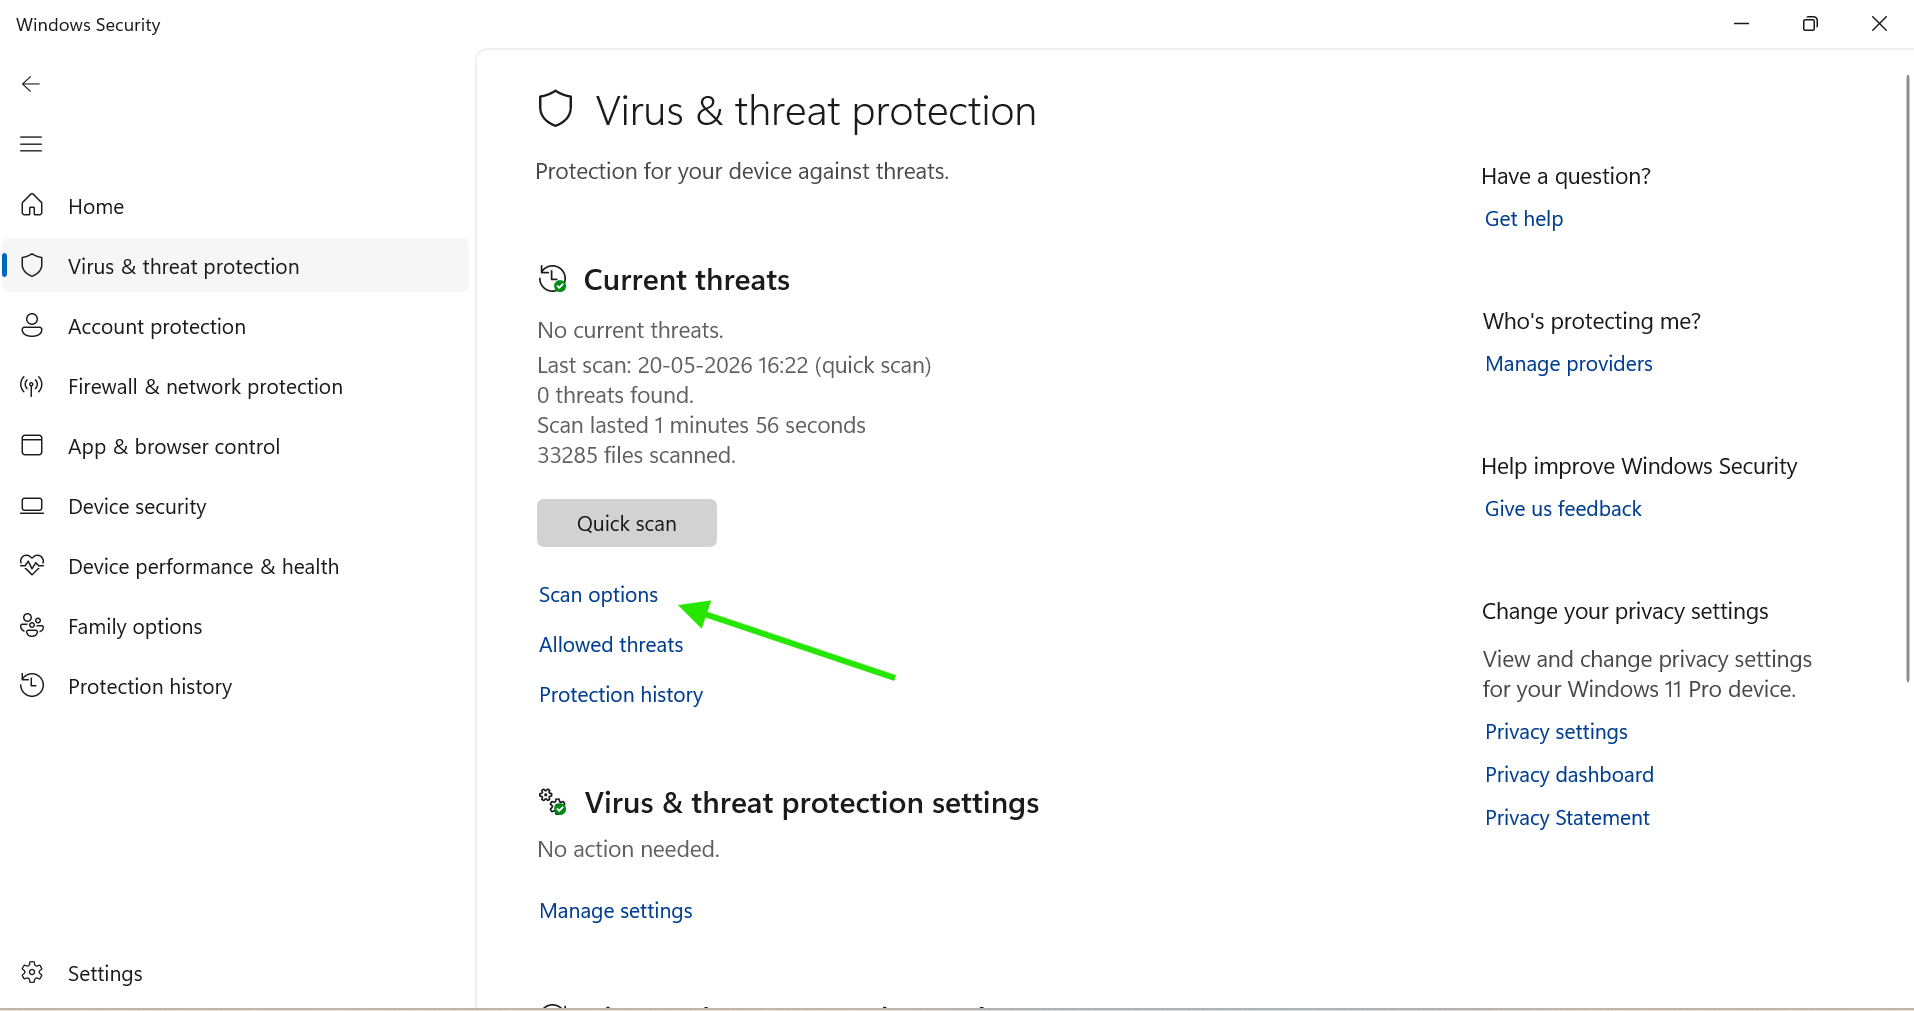
3. Click Scan options.
4. Choose Microsoft Defender Offline Scan.
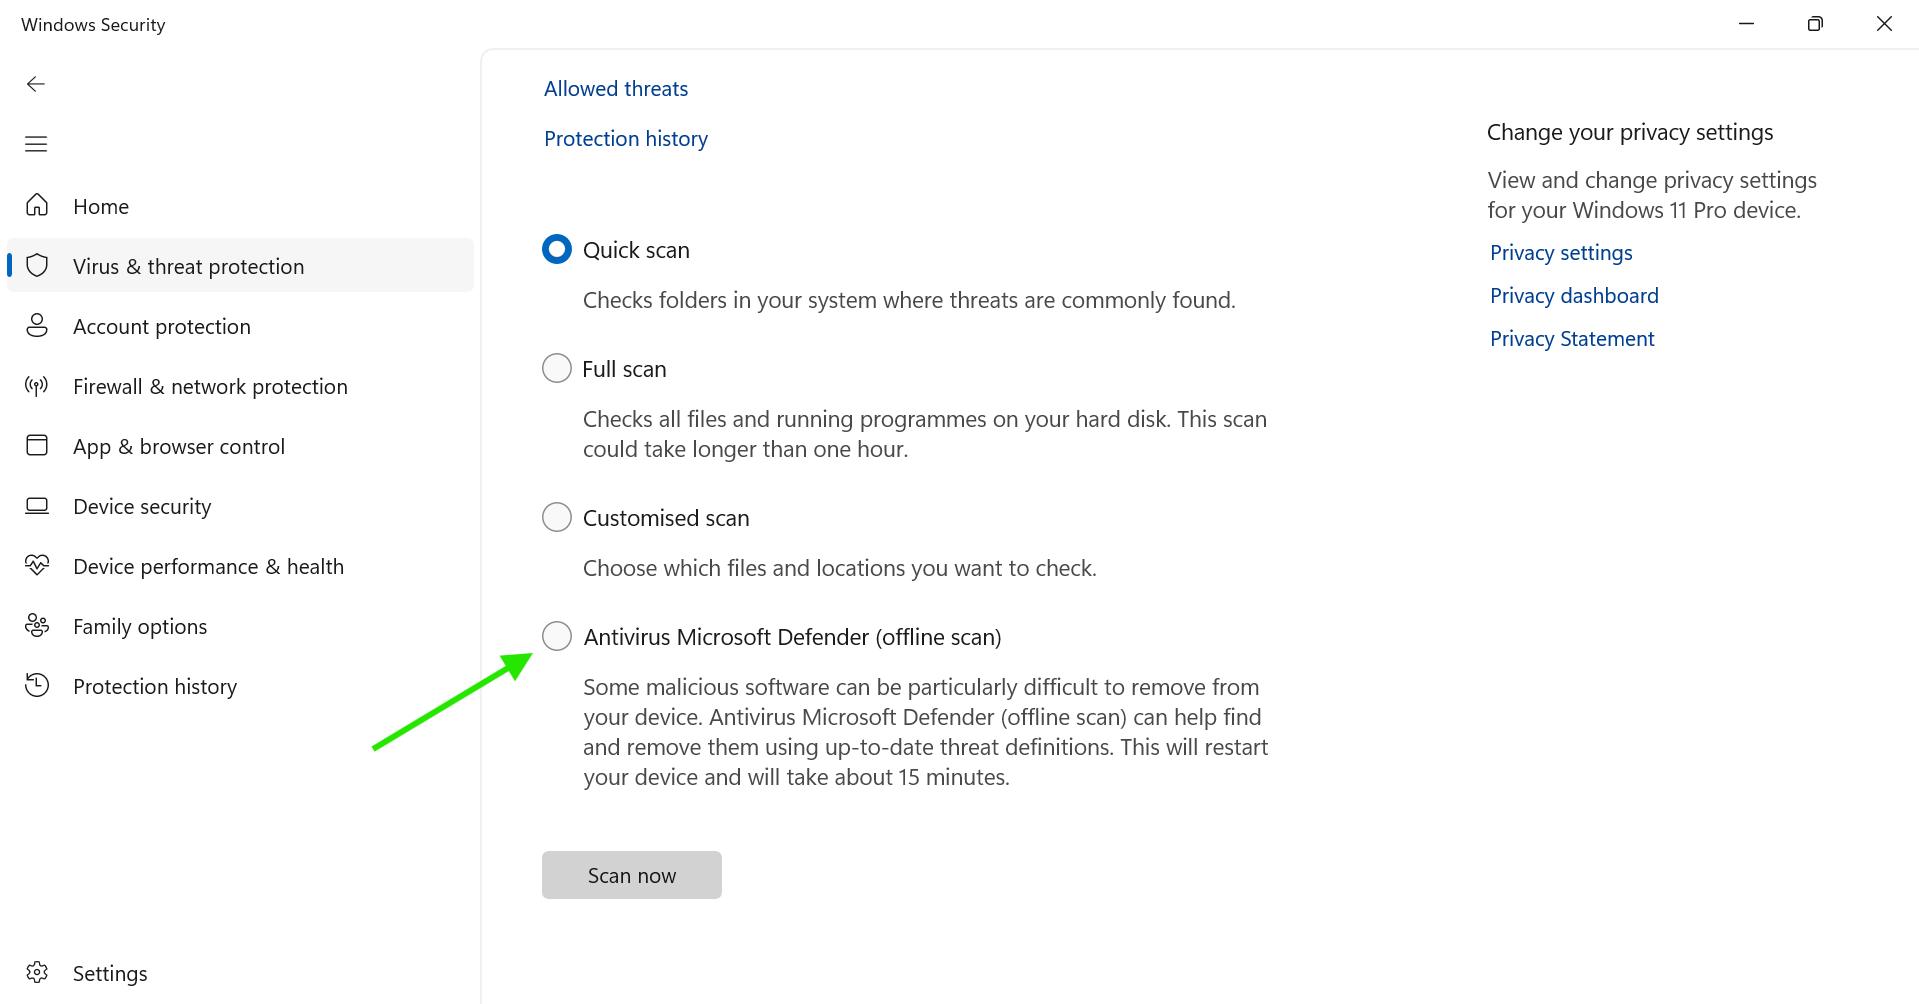
5. Click Scan now.
Fix 3: Run SFC & DISM Scans
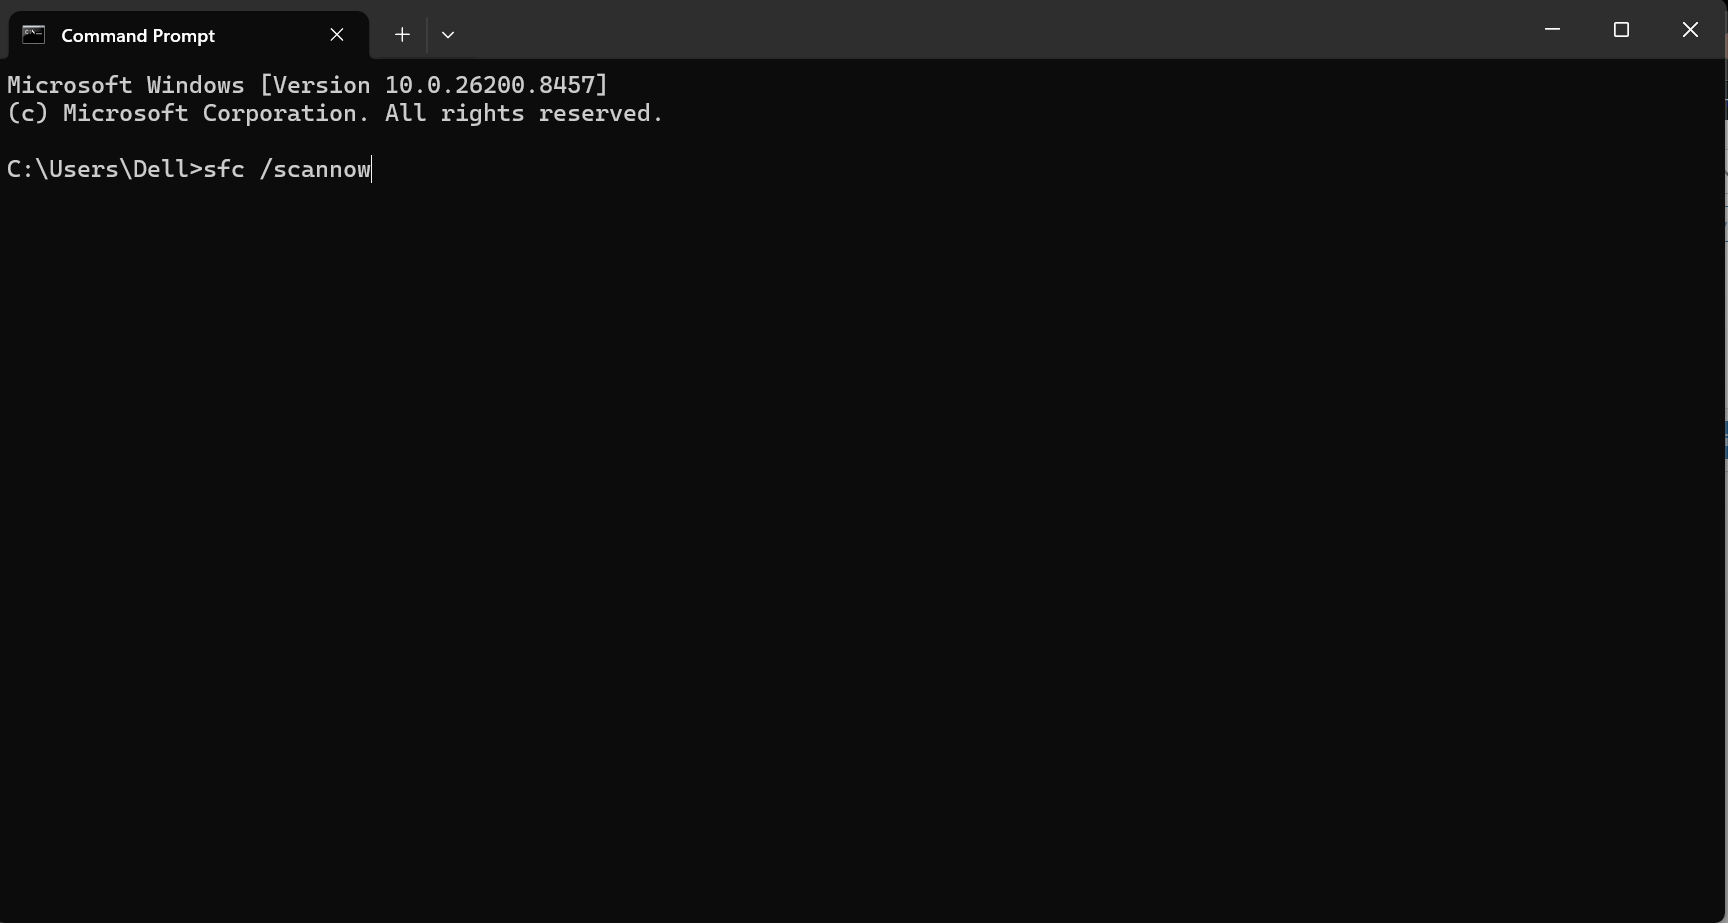
Corrupted system files can force PowerShell to overwork. Run these commands in Command Prompt (Admin) to fix Windows PowerShell high CPU usage:
sfc /scannow
Then run:
DISM /Online /Cleanup-Image /RestoreHealth
Restart the computer after the scans finish.
Fix 4: Perform A Clean Boot
Some third-party apps can trigger PowerShell CPU spikes in the background. Perform a clean boot, check out the steps below:
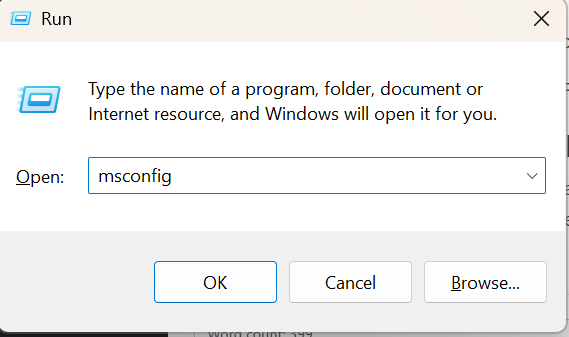
1. Press Windows + R, type msconfig, and press Enter.
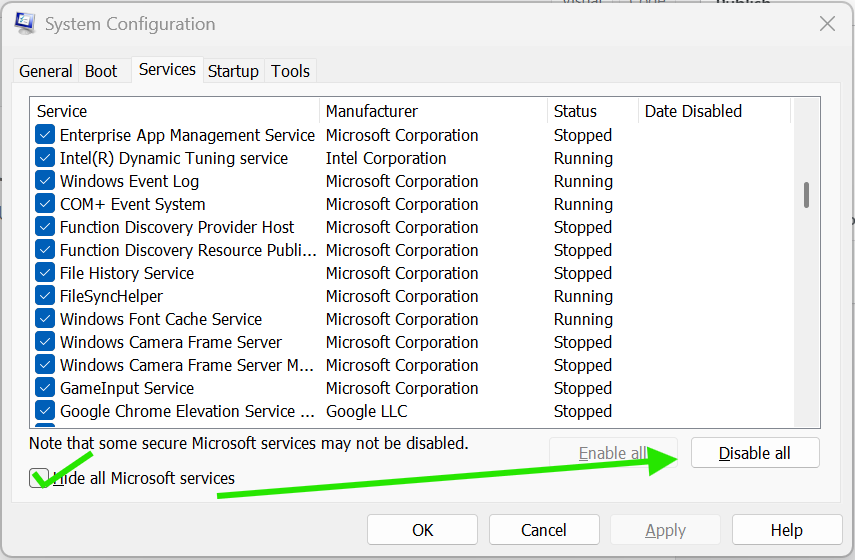
2. Open the Services tab.
3. Check Hide all Microsoft services.
4. Click Disable all.
5. Open Task Manager from the Startup tab.
6. Disable startup apps and restart the PC.
Fix 5: Use Cloud Reset
If Windows settings are badly damaged. Cloud Reset can repair the system without requiring a manual Windows reinstall. Follow the steps below:
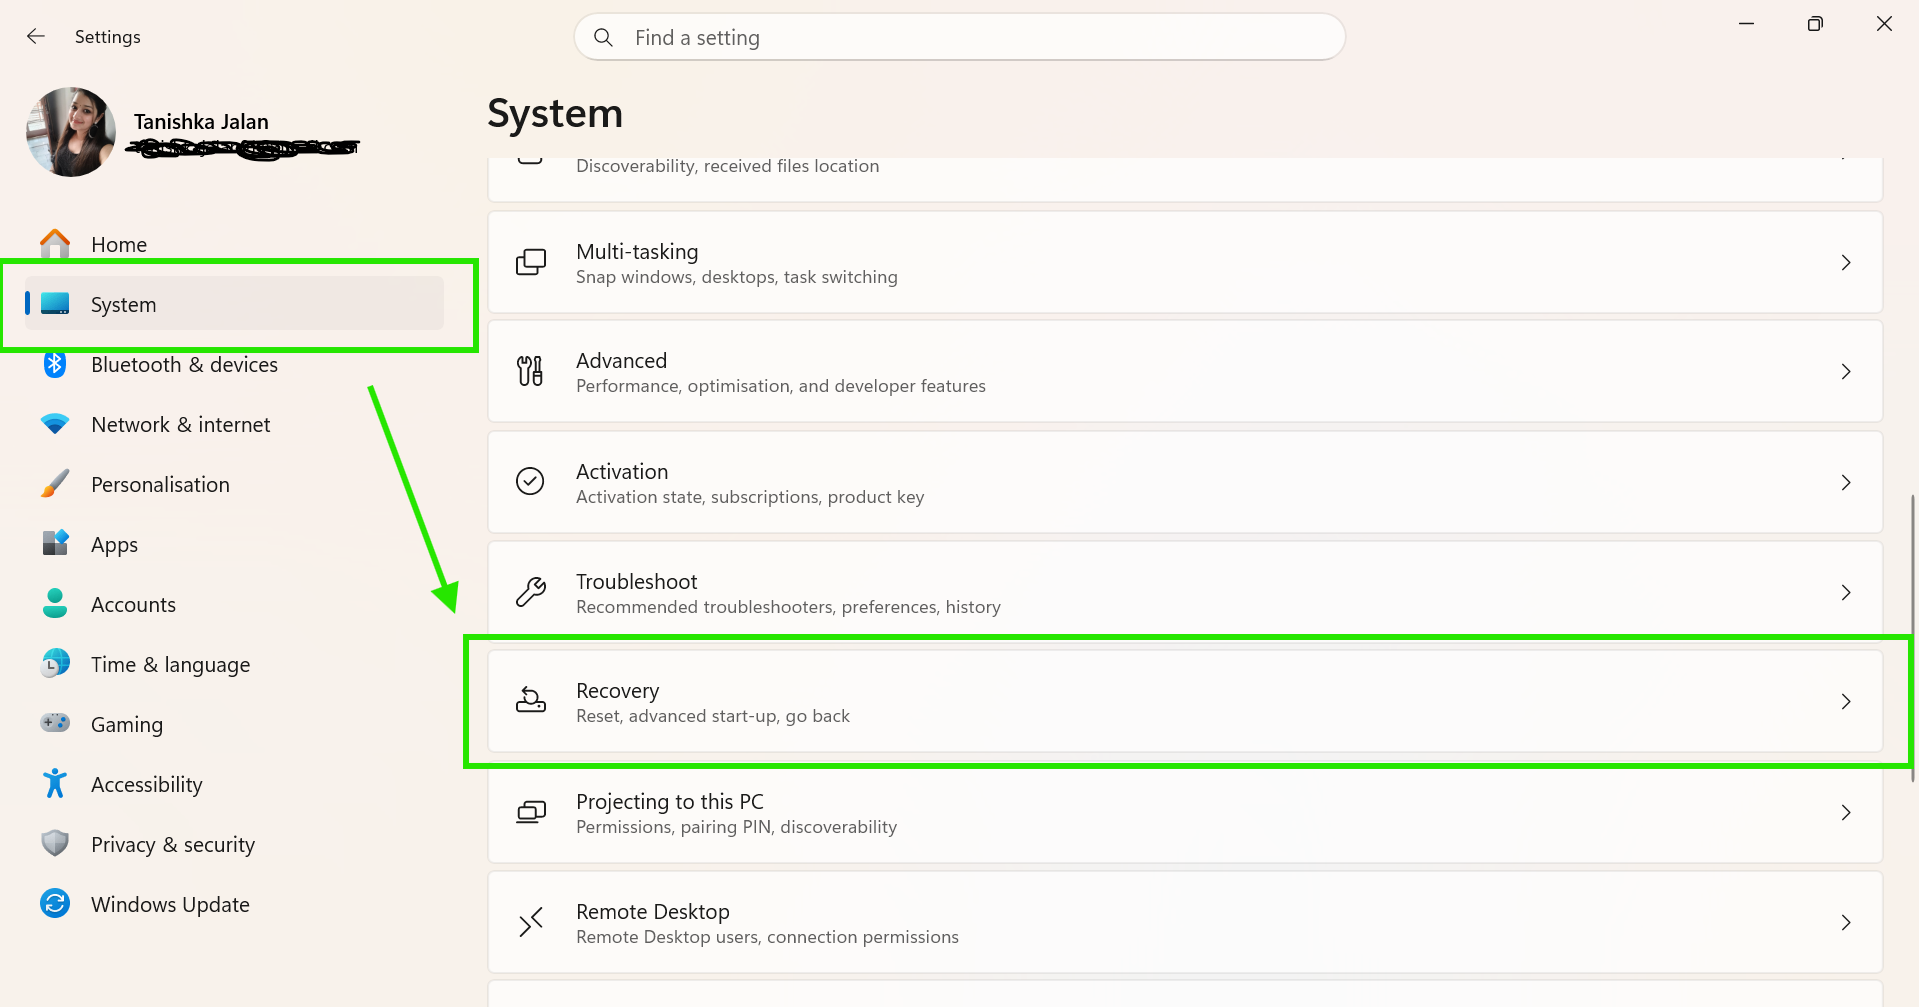
1. Open Settings > System > Recovery.
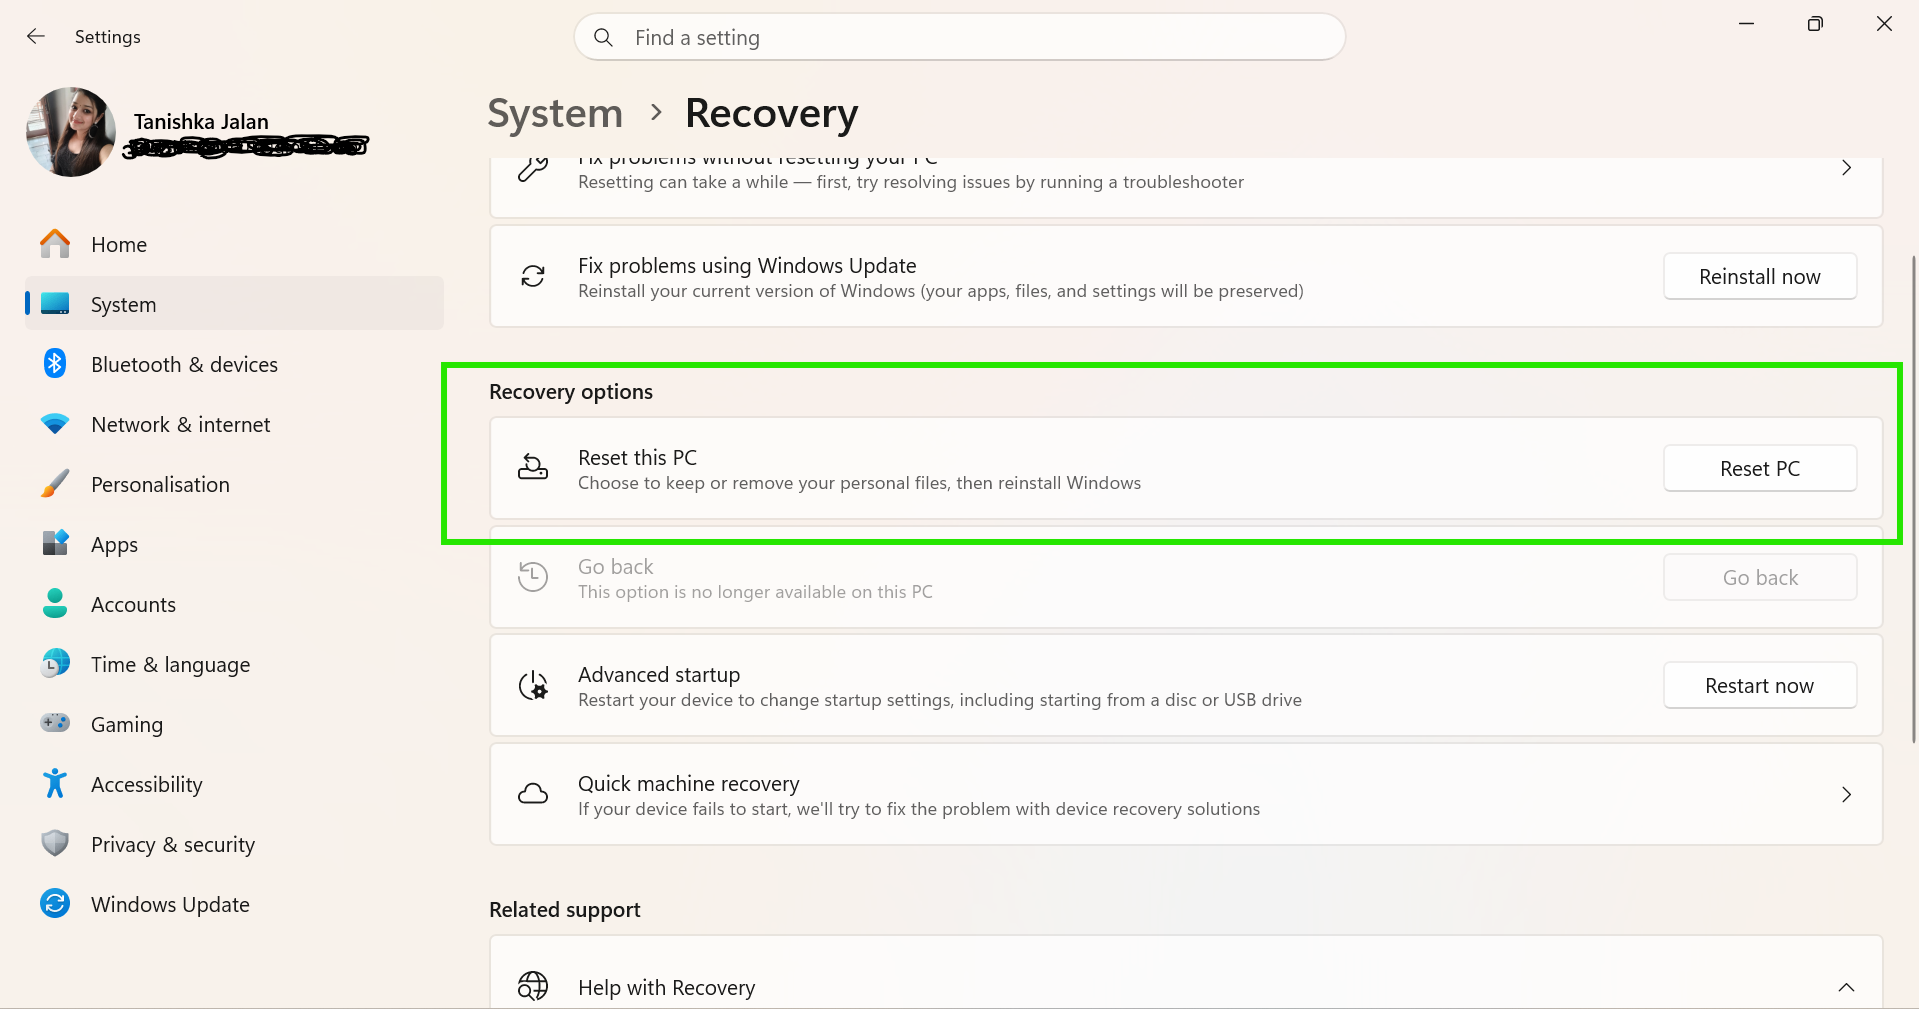
2. Click Reset this PC.
3. Choose Keep my files.
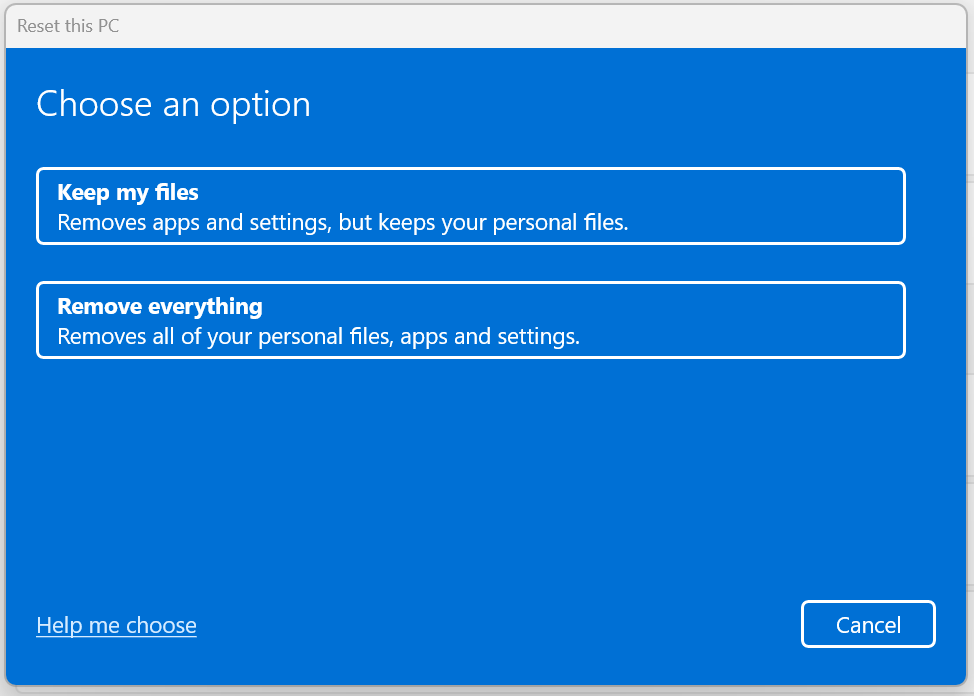
4. Select Cloud download.
Summary
So, high CPU usage in Windows PowerShell is usually caused by corrupted files, malware, outdated updates, or conflicting apps. These methods can help you identify the cause and restore normal CPU usage quickly in Windows 11.