
The error code 0xC1900101 can appear on any Windows 11 system. This bug normally pops up when updating the features or upgrading a system, and users are not able to upgrade to the new version of Windows 11. In this article, we will take you through the reasons, types of, and the most efficient ways of getting out of the Windows 11 upgrade error 0xC1900101.
Page Contents
Causes of Windows Update Error Code 0xC1900101
The Windows 11 upgrade error 0xC1900101 is associated with driver compatibility or system-related problems that tend to disrupt the upgrade process. Knowledge of these common causes will assist us in implementing the appropriate solutions for an easy update.
- Drivers are getting old or corrupted.
- Inadequate system files or disk space.
- Broken Windows system elements.
- Inconsistent applications/security software.
- BIOS or incompatibility of hardware.
Types of the 0xC1900101 Error
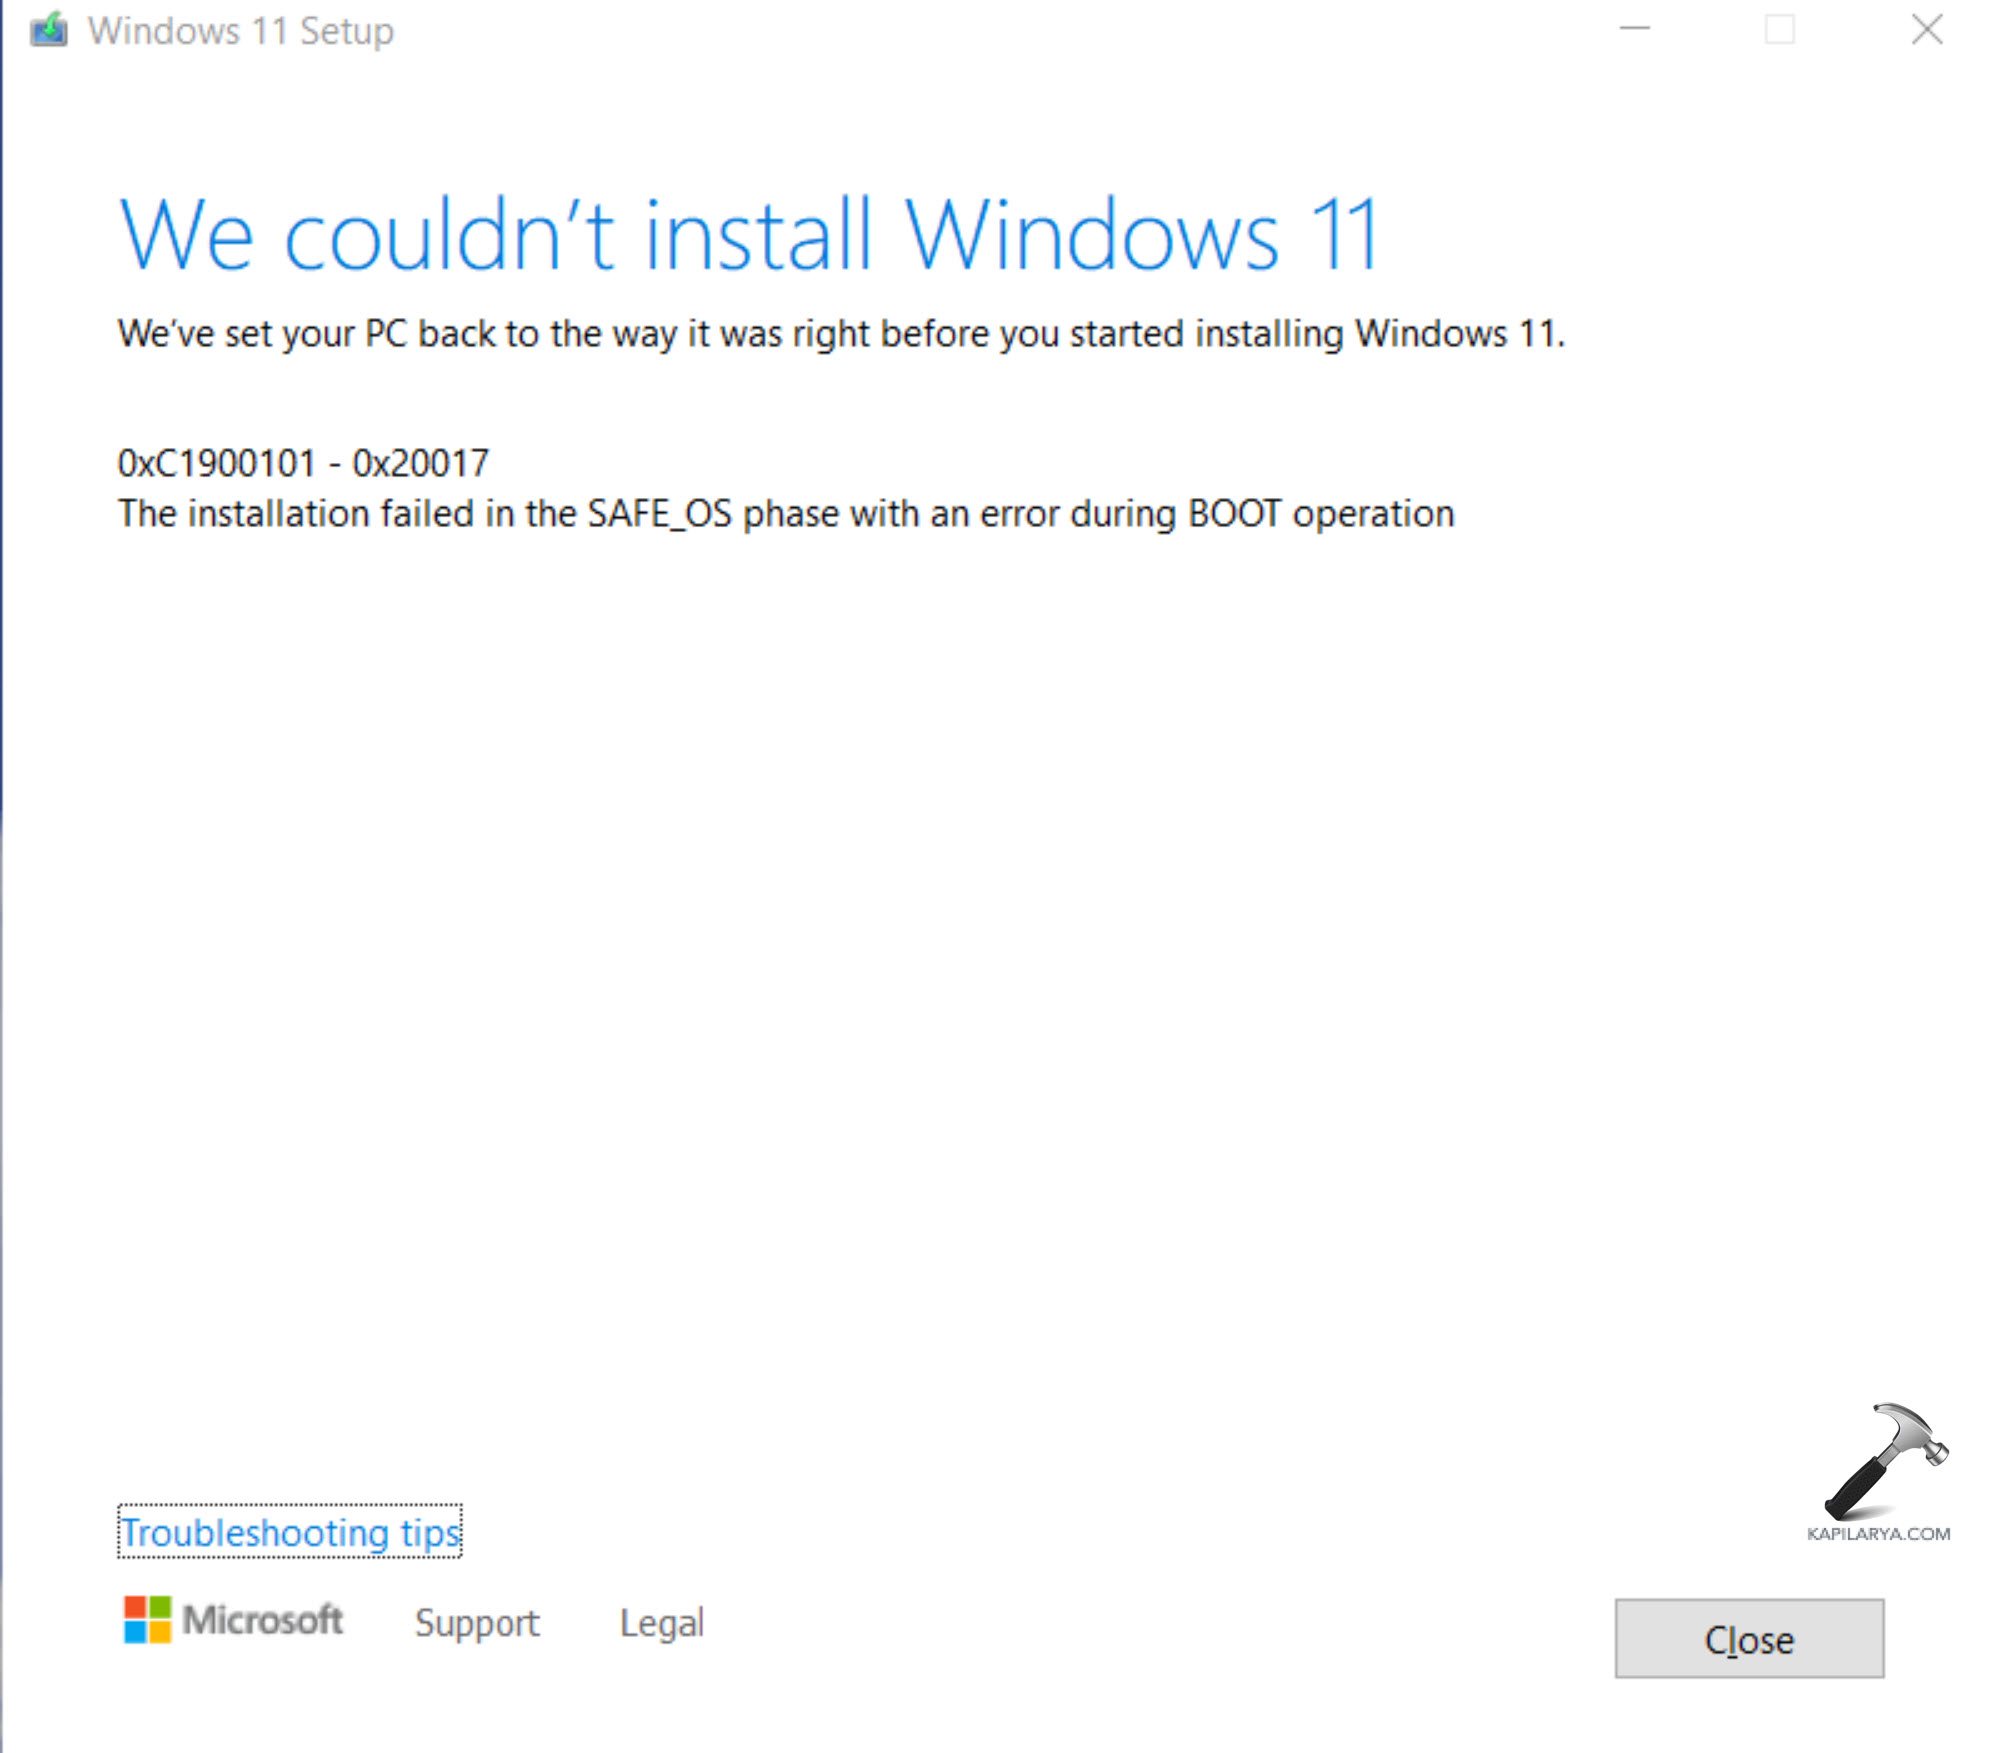
This error may be presented in Windows in various forms, including-
- 0xC1900101 – 0x20017
- 0xC1900101 – 0x30018
- 0xC1900101 – 0x4000D
- 0xC1900101 – 0x3000D
- 0xC1900101 – 0x40017
All these codes show a driver-related problem that prevents Windows 11 from upgrading.
Fix Upgrade Error 0xC1900101 on Windows 11
The 0xC1900101 upgrade error on Windows 11 is a situational challenge that would not appear easy to handle initially, but with the proper procedures and some patience, it is a matter of management in itself, despite not being technologically savvy.
Method 1: Disconnect All Peripheral Devices
At times, even basic measures are the most important. There are other external devices that could be conflicting with it. The technique is particularly effective where the problem is brought about by conflicting USB drivers.
1. Shut down your PC.
2. Disconnect all USB peripherals such as printers, web cameras, hard drives, and microphones.

3. Restart your system. See whether to reinstall the Windows 11 update.
Method 2: Update the Problematic Driver
The most frequent cause of such error is the defect of driver defect, or its outdatedness. The upgrade problem can be fixed immediately by updating the network, audio or chipset, or storage drivers.
1. Use “Win + X” keys and choose Device Manager.
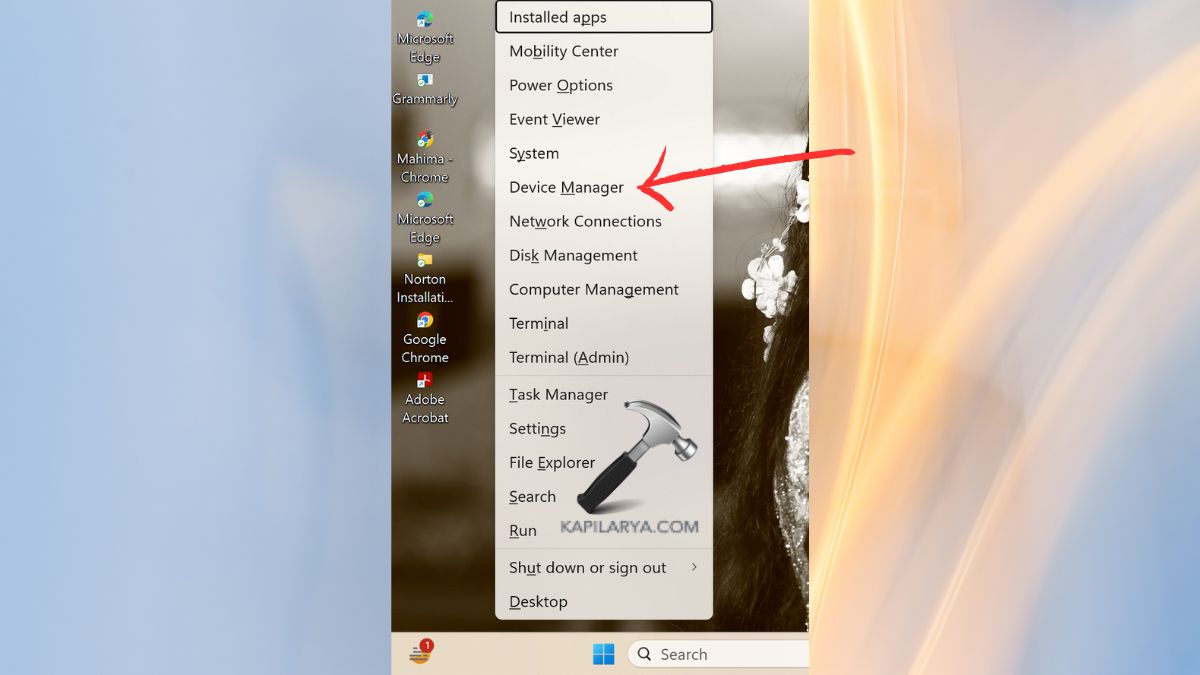
2. Look at drivers who have a yellow caution sign.

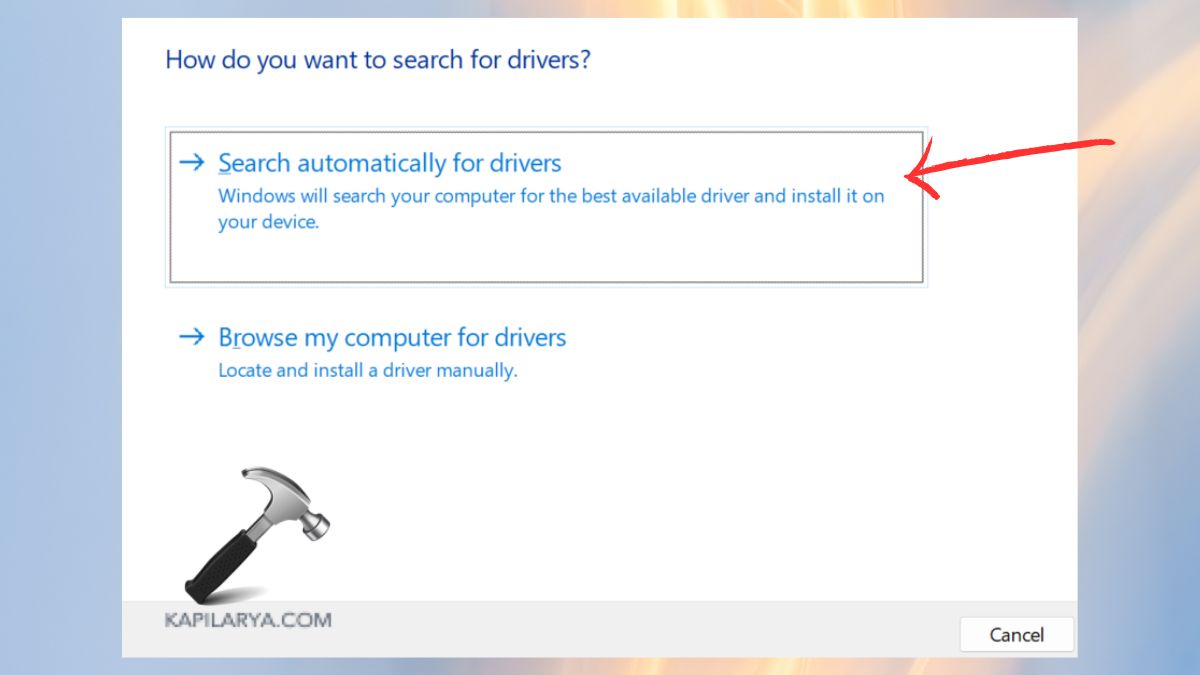
3. Select the problem driver, right-click on it, and select Update Driver.

4. Select the automatic Search for drivers.
Method 3: Manually Install Your Display Drivers
The upgrade may be interrupted by graphics drivers, particularly NVIDIA or AMD. These measures will make the Windows update entirely compatible.
1. Go to the website of your GPU manufacturer (NVIDIA/AMD/Intel).
2. Download the most recent Windows 11-compatible driver.

3. The old driver should be uninstalled in the Device Manager by right-clicking the old driver.
4. Install the version of the download and restart the PC.
Method 4: Run an SFC Scan
The 0xC1900101 error on the Windows 11 upgrade is due to corrupted system files.
1. Access as an Administrator to the Command Prompt.

2. Type this command to start the scan.
sfc /scannow
Press Enter and allow the scan to come to an end.

3. Turn your PC on again and make an attempt to update it. This fixes corrupt Windows files that could interrupt updates.
Method 5: Run the Windows Update Troubleshooter
Windows also has an inbuilt mechanism for automatic correction of updates.
1. Open Settings > System. Click on Troubleshoot > choose Other troubleshooters.
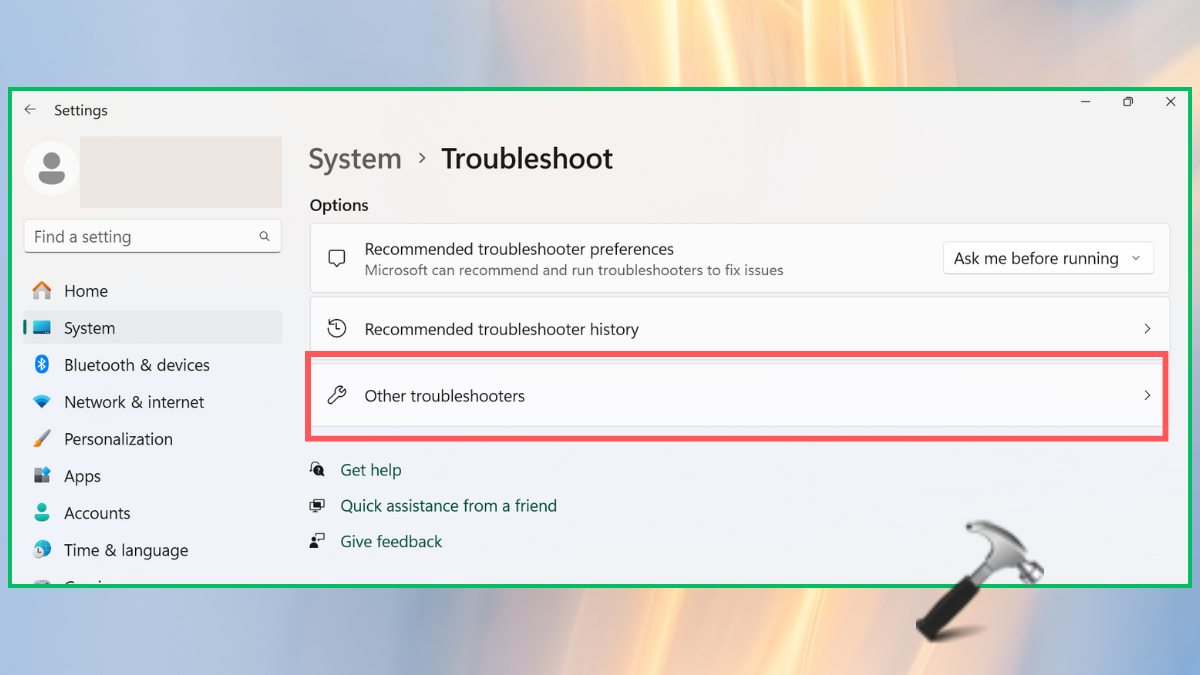
2. Next to Windows Update, click Run. This assists in identifying and resolving issues that relate to updates in a short time.

Method 6: Remove Problematic or Recently Installed Applications
Antivirus software, optimization software, and VPN programs may disrupt updates.
1. You have to open the Windows 11 Settings > Apps > Installed Apps.
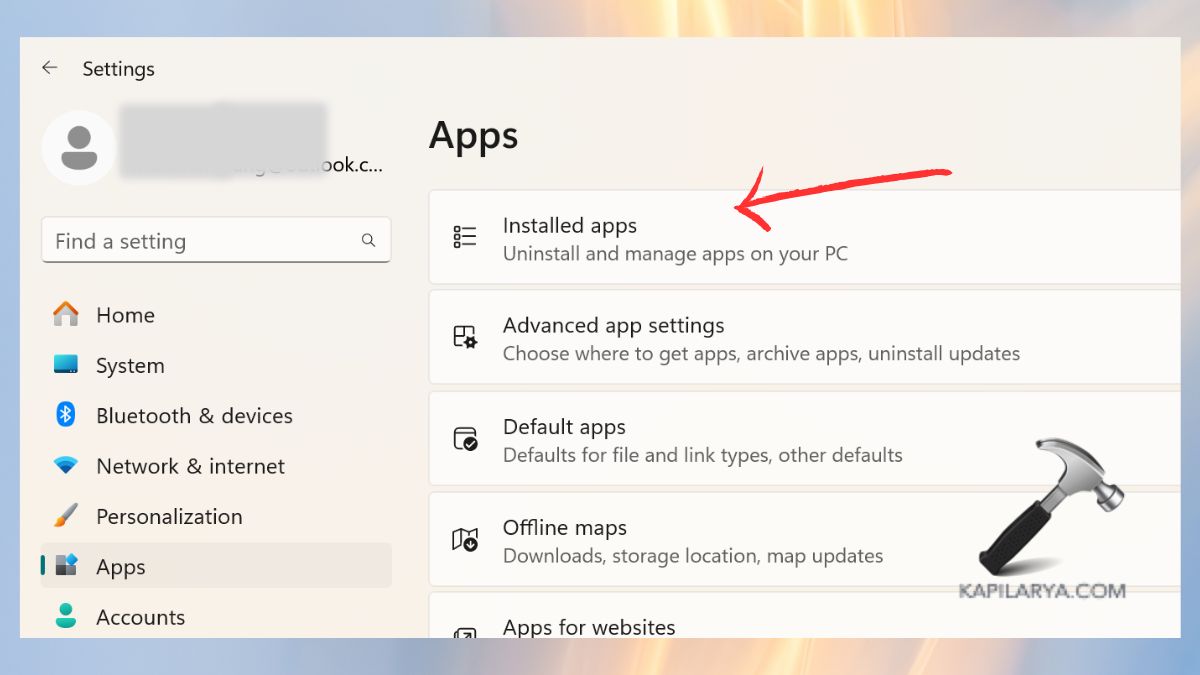
2. Sort by Recently Installed. Uninstall the suspicious apps.

3. Restart the PC and then, try upgrading again.
Method 7: Update BIOS
The old-fashioned BIOS firmware may result in system and driver-related conflicts.
1. See the webpage of the producer of your laptop or motherboard. Obtain the most recent BIOS firmware.
2. Updates on the BIOS can be done according to the on-screen instructions.

Method 8: Install a Fresh Copy of Windows
When all fails, a clean install of Windows 11 should fix the problem.
1. First, download the Windows 11 Installation assistant on the downloading page (Microsoft).

2. Install the tool, accept the terms, and the tool will help you install a fresh copy of Windows 11 latest update.

What If You Lose Data After the 0xC1900101 Error?
In some situations, upgrades are not successful and result in unintentional loss of data. If that happens:
1. Use the Windows File Recovery Tool.
2. Recover Backup and restore files.
3. Recover data through third-party software.
In order to prevent risk in the future, it is always important to update your system and have a backup just in case of making major updates.
Video fix
Here’s a video fix to help you more on this:
Frequently Asked Questions (FAQs)
That’s it!
Related: Fix Windows Update Error 0xc1900107 in Windows 11/10.


![[Latest Windows 11 Update] What’s new in KB5089549?](https://www.kapilarya.com/assets/Windows11-Update.png)