When you perform upgrade to your Windows 10 operating system, some special folders are created. These folders are created inside the drive on which Windows is installed. The purpose of these folders is to complete the upgrade and log things while doing so. They also helps to go back to previous version and perform recovery operations.
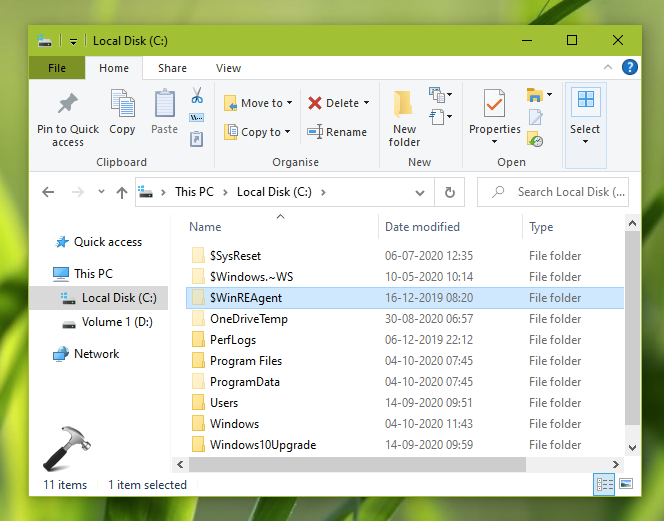
$WinREAgent is one of those folders about which we will talk in this article. If you go to the root of drive where Windows is installed, for example C: drive, then you may spot this folder as shown in the screenshot. Not all the installations have this folder available, but there are more chances if you have upgrade your Windows 10 version, you may have it.
You might be thinking what is this folder and why it is created? What purpose this folder serves and can you delete it if you want? We will try to answer these questions below.
$WinREAgent Folder In Windows 10
So the $WinREAgent folder is created during our Windows 10 version upgrade. While you are performing the upgrade operation, there are two things possible. Either the upgrade may succeed or fail. In case if it fails, Windows will try to restore your older version. And in the restoration process, this folder plays an important role. It contains the temporary files required to restore or roll back the upgrade, upon failure.
The $WinREAgent folder is basically a hidden folder. You need to enable hidden items in File Explorer to locate this folder. Usually most of the folders having a dollar ($) sign included in their name are hidden folders and requires administrative access.
It has been observed that Windows automatically delete this folder after 10 days of completion of your version upgrade. Else, if you want, you can delete it manually. But before deleting it, check following things. Ensure that the folder is taking no memory i.e. have 0 KB inside it. If you have any Windows Update installation pending, complete it. Windows will of course reboot to complete the installation of updates. So it might be possible that the folder gets removed automatically after the reboot. But if it remains there, then you can delete it manually.
If you have Windows 10 Update Assistant installed, try uninstalling it and the $WinREAgent folder should be removed after. Follow this guide to uninstall the tool:
How To Remove Windows 10 Update Assistant Permanently
That is all we know about this folder as of this writing.
Hope you found the article useful!
Related: Delete $WINDOWS.~BT Folder In Windows 10.