During the creation of a system image on Windows 11, the users may face the error of Windows Backup failed to get an exclusive lock on the EFI system partition. Hence, this article consists of the entire checklists which the users can attempt for solving the issue.

Therefore, continue reading this blog for knowing about all the solutions for solving the problem of Windows Backup failed to get an exclusive lock on the EFI system partition in detail.
Page Contents
Fix Windows Backup failed to get an exclusive lock on the EFI system partition
Fix 1: Changing Log On User
The first fix for solving Windows Backup failed to get an exclusive lock on the EFI system partition in detail is changing log on user with the steps below-
Step 1- Firstly, open the Run dialog box.
Step 2- Next, write the prompt below and press OK.
services.msc
Step 3- The Services window will open. Here, search Block Level Backup Engine Service.

Step 4- Now, right-click it and press Properties.
Step 5- Thereafter, in the Properties window, go to the Log On tab and select This account.
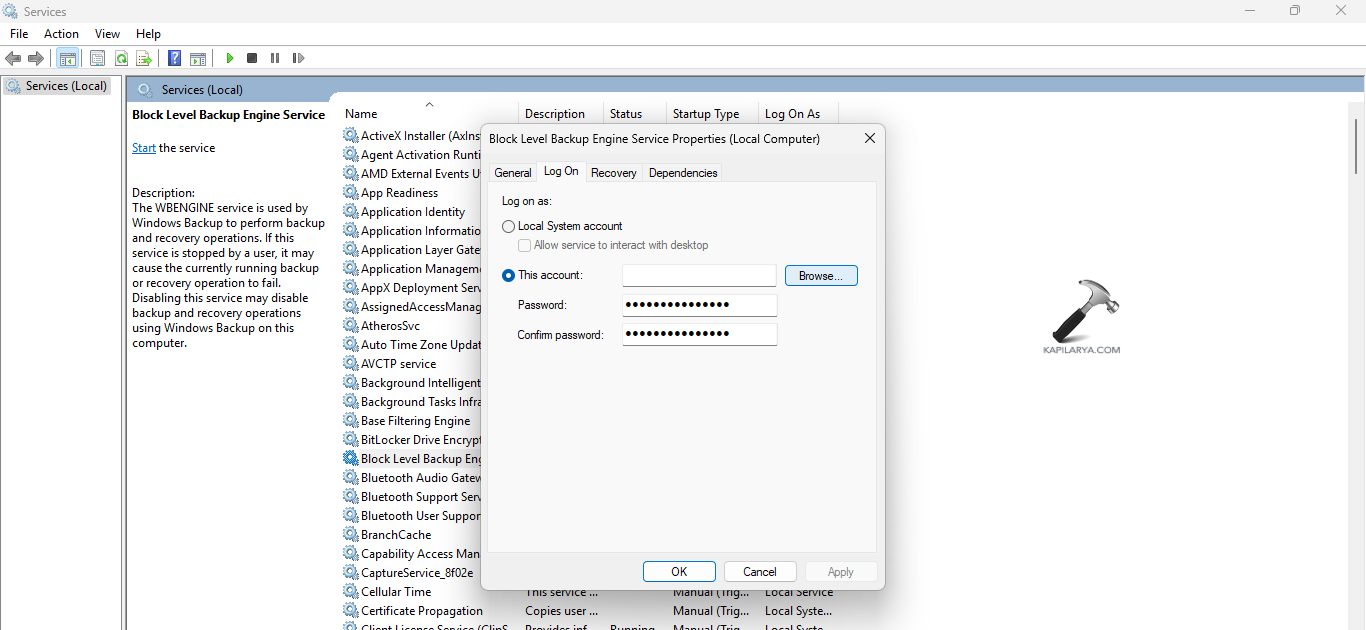
Step 6- Press Browse located near This account.
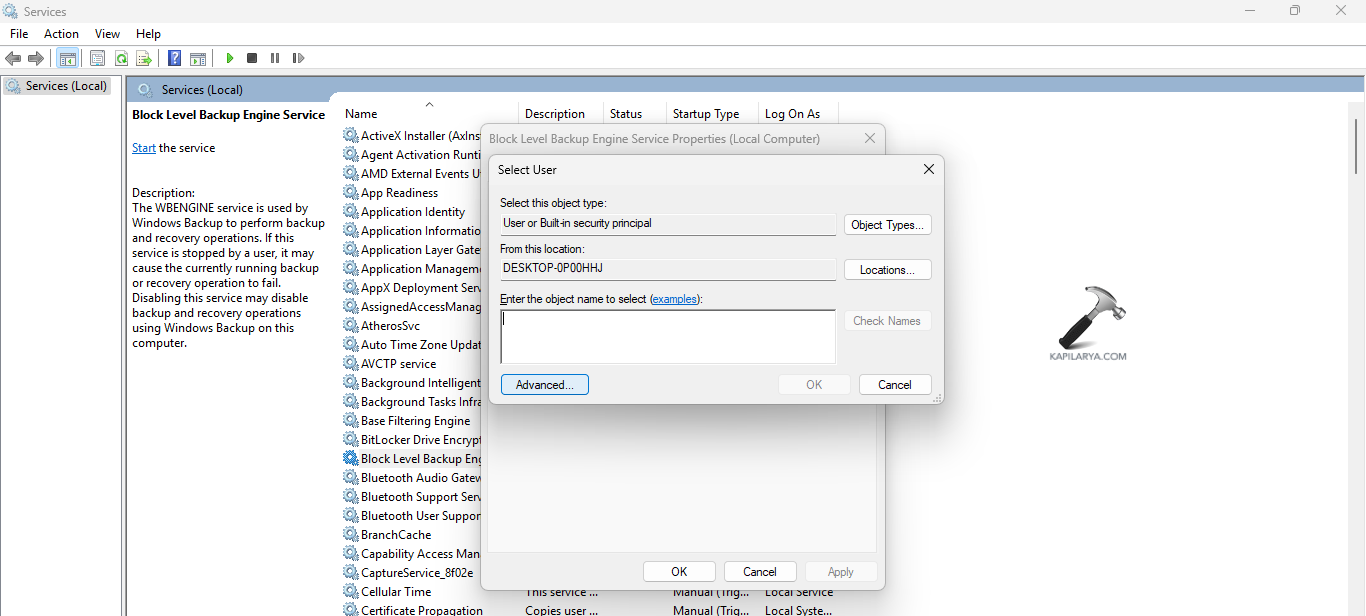
Step 7- Again, in the new window press Advanced button.
Step 8- Further in the next window, press Find Now.

Step 9- Now, it will check and list all the users on the PC. Here, double-click the required one for selecting it. Enter the selected user account’s password if required.
Step 10- Lastly, press OK buttons for saving all the changes and close all the windows. Restart the PC and check if this solves the issue.
Fix 2: Uninstalling Unnecessary Applications
The users can uninstall unnecessary applications for fixing the issue. For doing that follow the steps below-
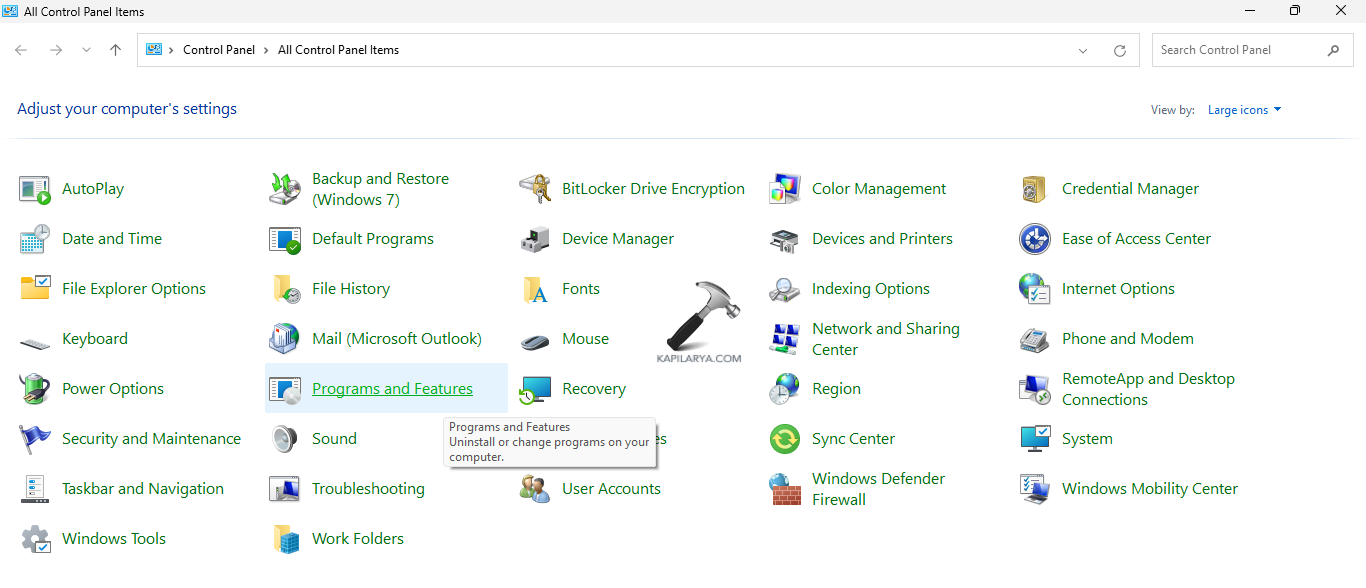
Step 1- Open Control Panel. Then, got to All Control Panel Items > Programs and Features.
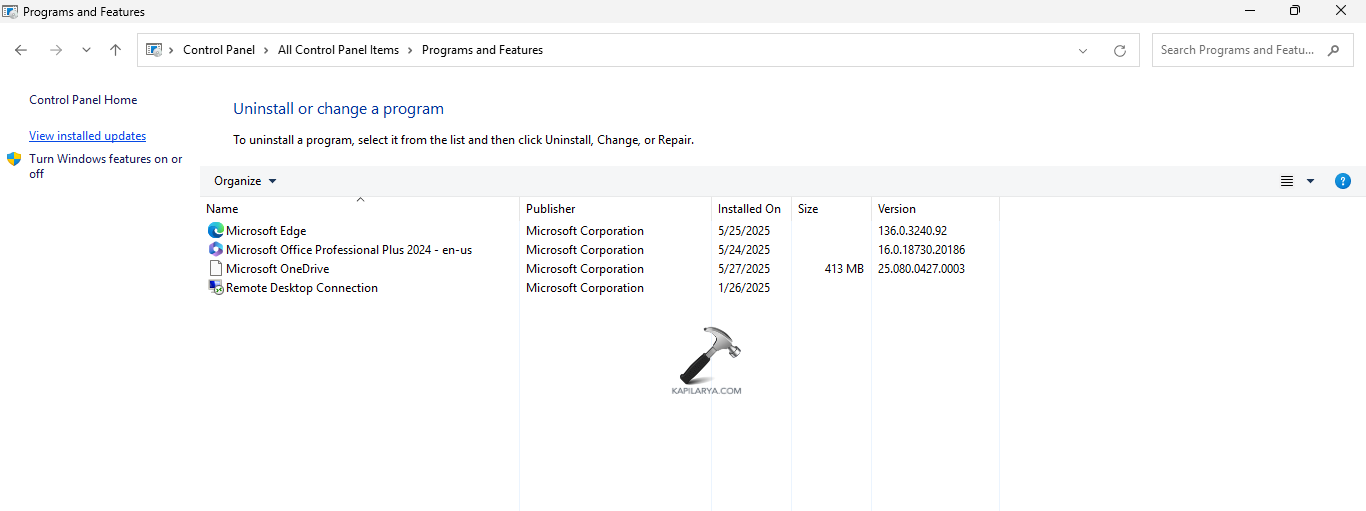
Step 2- Now, select the unwanted application and press Uninstall. This will remove the unnecessary programs.
Fix 3: Disabling Antivirus and Firewall Temporarily
Also, disabling antivirus and firewall temporarily can help the users in fixing the issue. Consider the steps below for doing the same.
Step 1- Open Windows Security and go to Virus & threat protection.
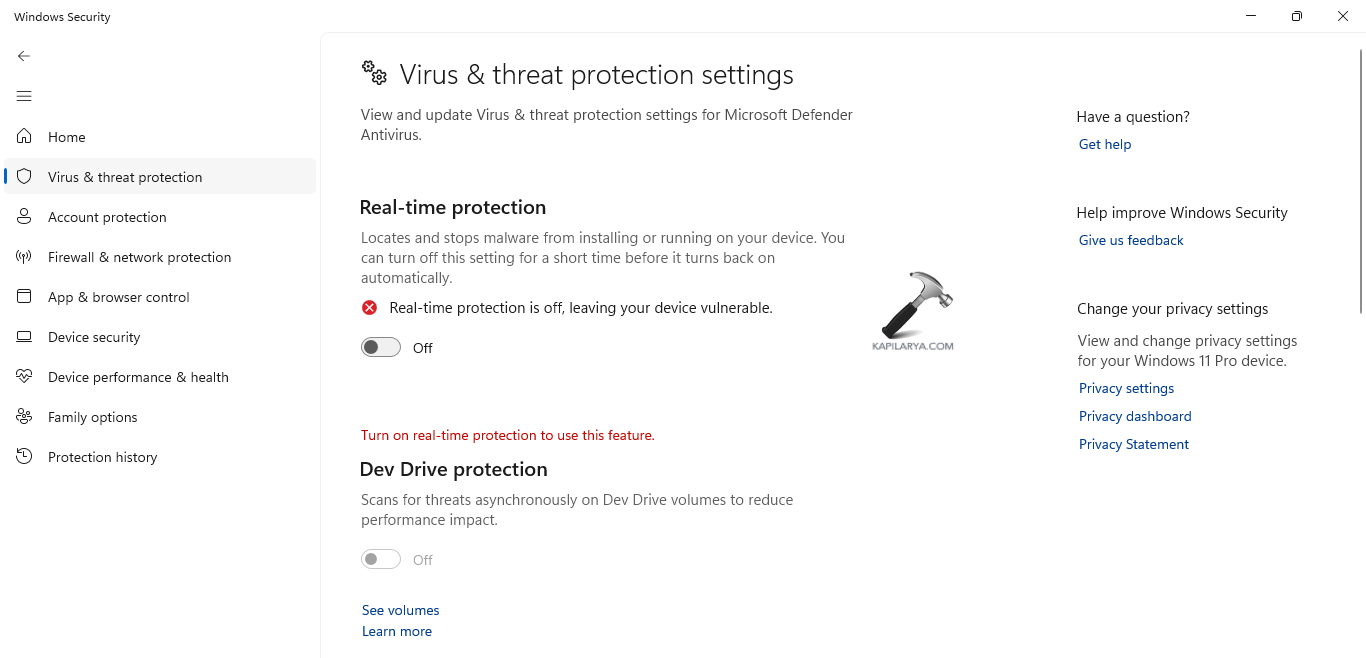
Step 2- Next, select Manage settings and disable Real-time protection.
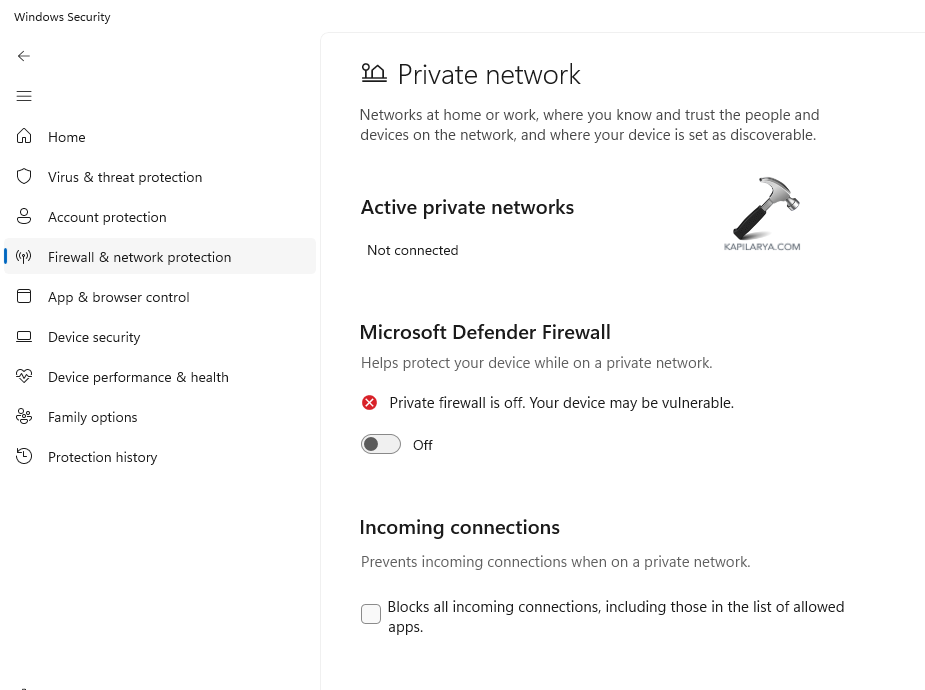
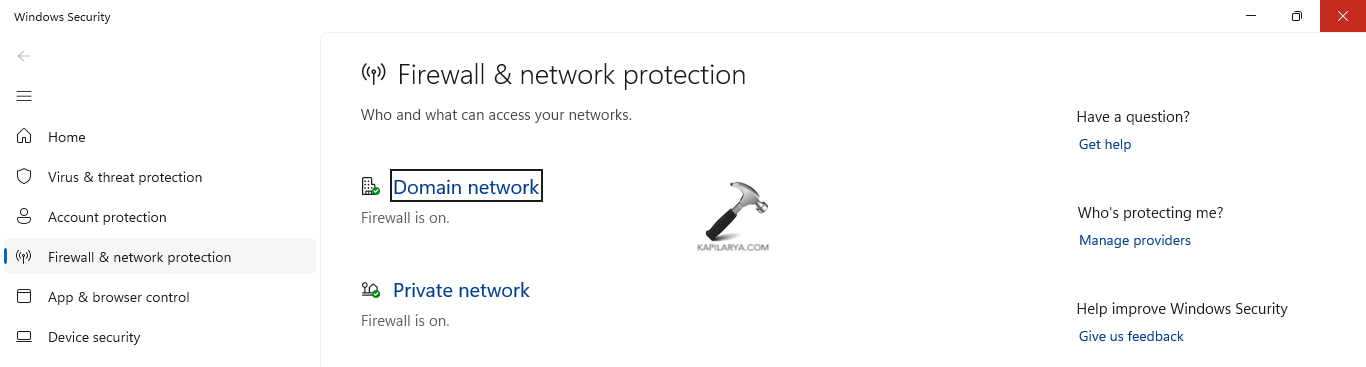
Step 3- Again, go to Firewall & network protection.
Step 4- Further, choose the active network (Domain/Private/Public) and disable the Microsoft Defender Firewall.
Fix 4: Restarting the PC
Restarting the PC and creating a system image without doing any other activity can also help the users to solve the problem of Windows Backup.
Fix 5: Booting in Safe Mode
If the above fixes are not working, then the users can even try booting the PC in Safe Mode with the given steps.
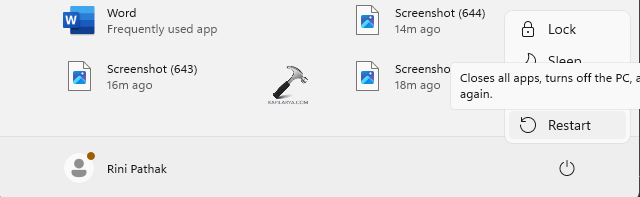
Step 1- Firstly, open the Start Menu and press the power icon.
Step 2- Next, hold the Shift button and press Restart.
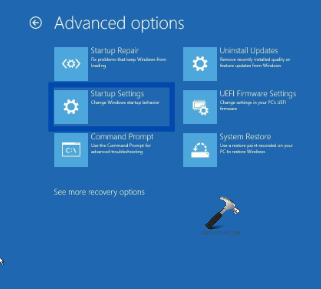
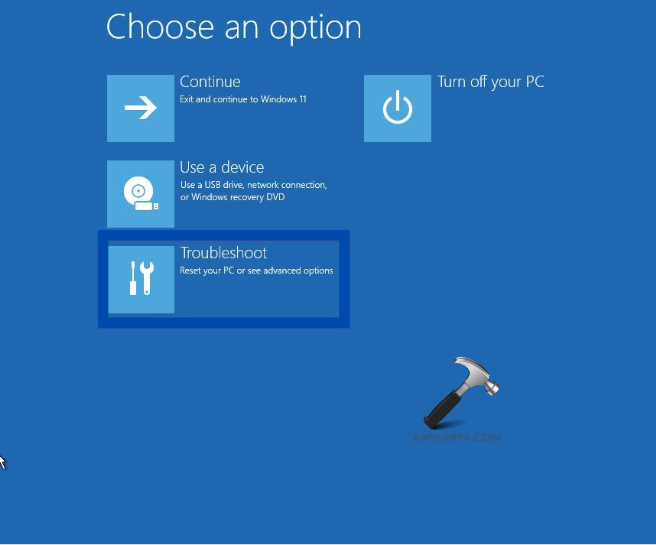
Step 3- Now, select Troubleshoot > Advanced Options > Startup Settings.
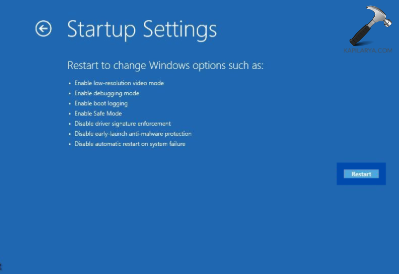
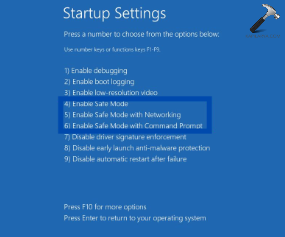
Step 4- Again, select Restart and click 4 on keyboard. This will enter the PC in Safe Mode.
Fix 6: Closing all Applications
The Windows Backup issue may also be a result of other programs using the EFI system partition. Thus, closing any other running program including third-party application, antivirus, Windows Firewall, defender, etc.
Fix 7: Logging into an Administrator Account
Logging into Windows with a local account instead of an administrator account can also cause Windows Backup failed to get an exclusive lock on the EFI system partition. Thus, logging into an administrative account can also help fix this issue.
Fix 8: Performing a System File Checker Scan
Another fix which the users can attempt is performing a SFC scan with the provided steps.
Step 1- Firstly, go to start and type cmd. Next, right-click on Command Prompt and press Run as administrator.
Step 2- Next, in the command prompt window, type the command given below to run the SFC scan and press Enter.
sfc /scannow
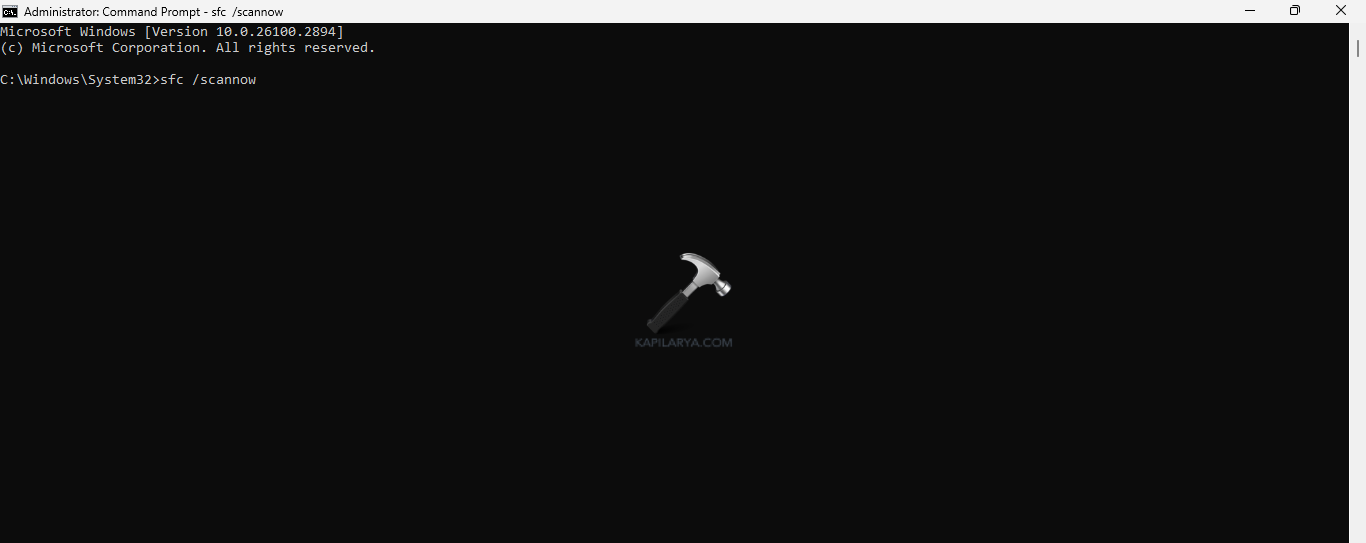
Step 3- Lastly, after the scan runs, restart the PC.
Fix 9: Reformatting the Backup drive
Reformatting the backup drive can too be helpful for fixing the issue. Thus, follow the instructions below for doing the same.
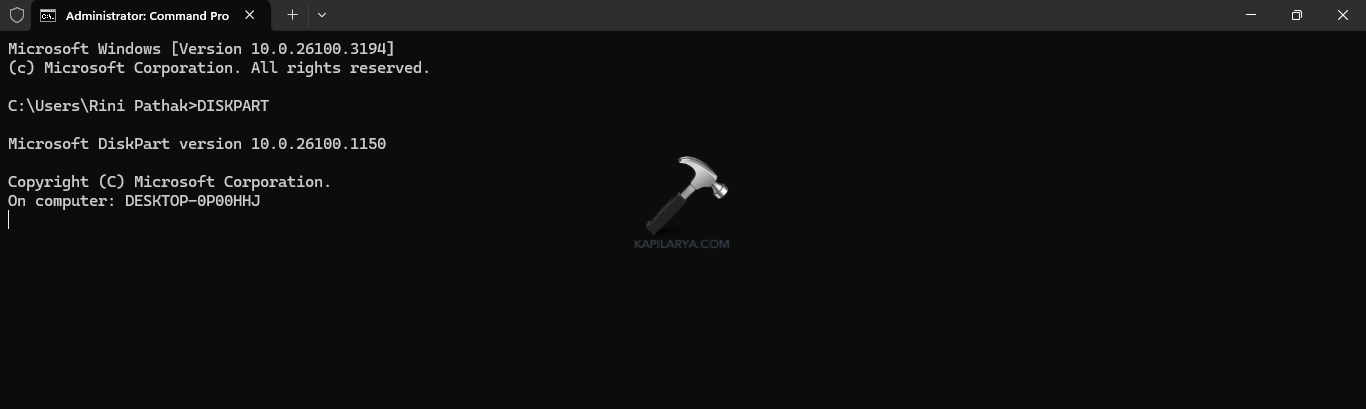
Step 1- Primarily, run Command Prompt as an administrator.
Step 2- Write the prompt given below and press Enter.
diskpart
Step 3- Now, write the prompt below for displaying the number of available drives in the system.
listdisk
Step 4- See the listed number against the drive for formatting and write the command provided below. Replace X with the number of the drive.
selectdisk X
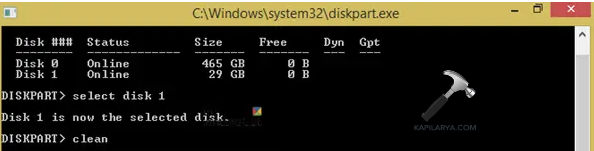
Step 5- Now, type the command below for clearing everything the drive.
clean
Step 6- Next, type the following and press Enter.
convert gpt
Step 7- After the process finishes, write the following command-
create partition primary

Step 8- Further, enter the following prompts for formatting and assign the drive a letter-
select partition xformat quick fs=NTFS assign letter C
Step 9- Lastly, restart the PC.
Fix 10: Running a Virus Scan
If none of the above solutions work, then the users can run a virus scan with the instructions below for fixing the problem.
Step 1- Open Settings. Then go to Privacy & Security > Windows Security.
Step 2- Next go to Virus & threat protection.
Step 3- Open Current threats and press Scan options.

Step 4- Now, press Full scan and select Scan now. After the process is finished, restart the PC.
Hope this helps!